Add the Customer Sample Registration Entry to the Job Record Module
Interactive Tour:
Add the Customer Sample Registration Entry to the Job Record Module
Guide: Add the Customer Sample Registration Entry to the Job Record Module (36 Steps)
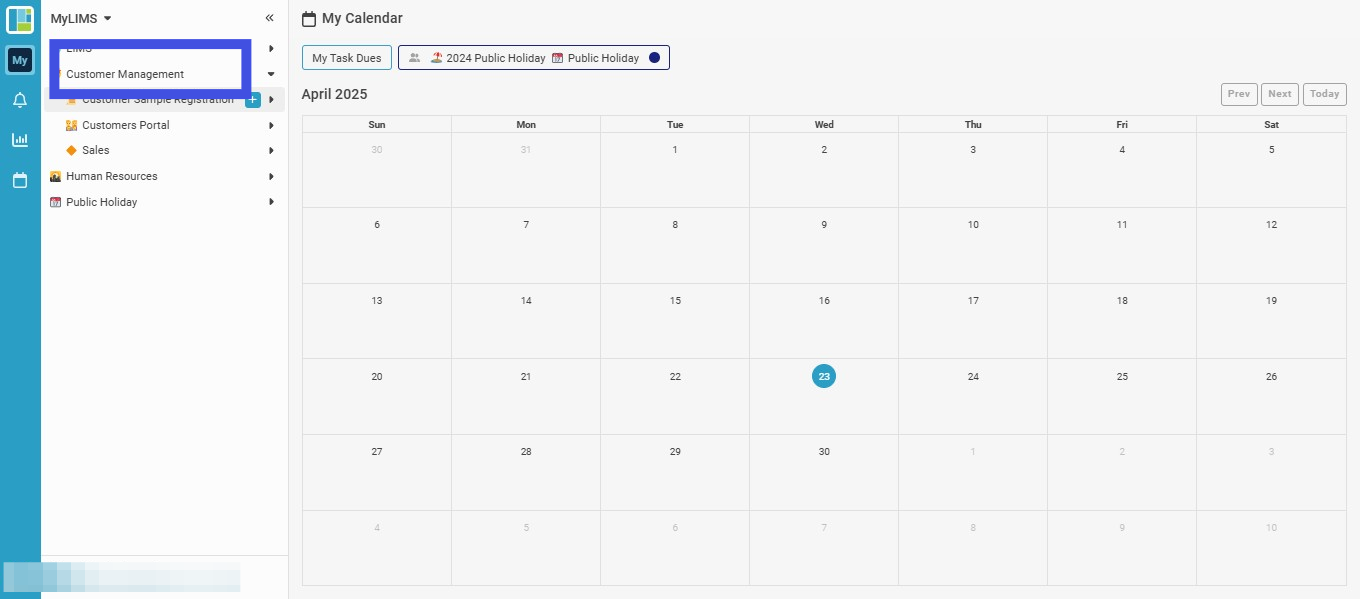
Step 1: Click 'Customer Management'
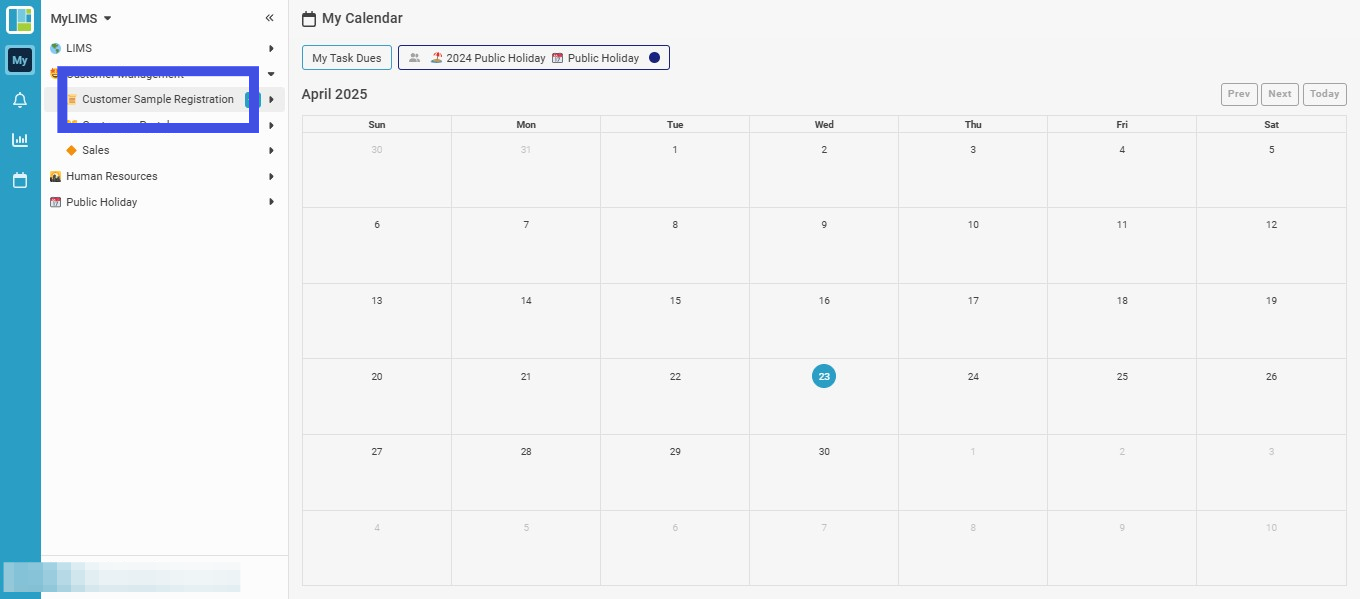
Step 2: Click 'Customer Sample Registration'
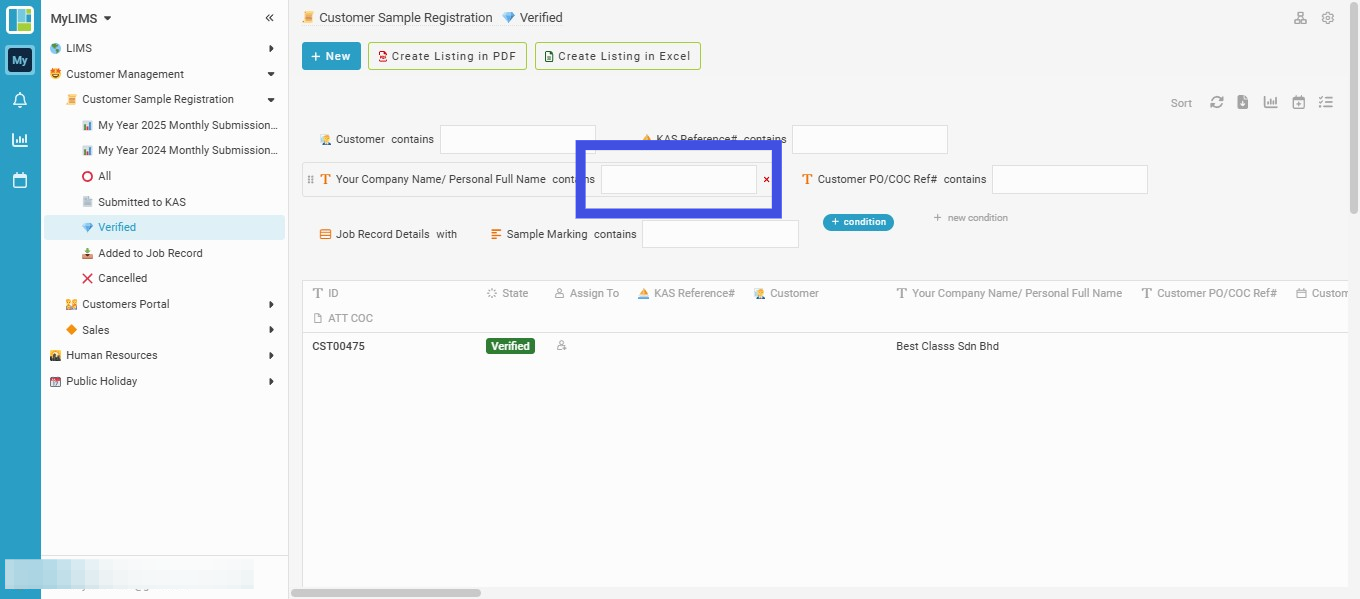
Step 3: Navigate to and click on the 'Verified' Listing

Step 4: Enter the 'Company Name/Personal Full Name' field to search
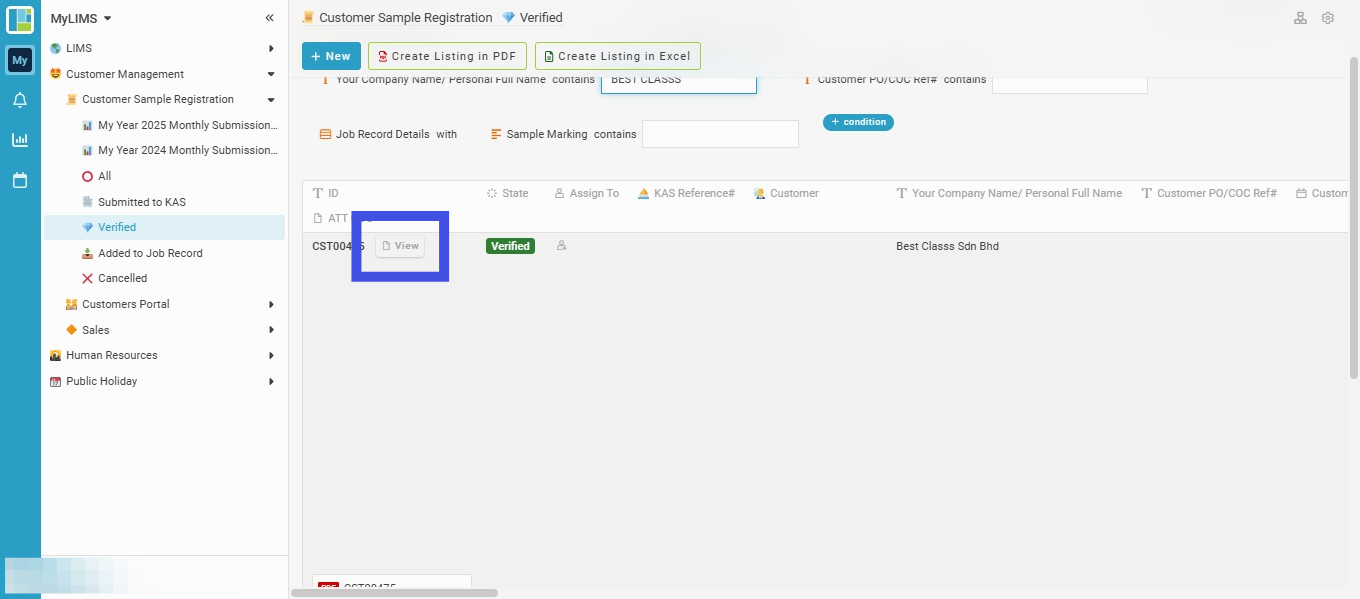
Step 5: Navigate to and click on the 'View'
Step 6: Click the 'Add to Job Record' button, and then a page 'Add to Job Record' will pop up

Step 7: Enter the KAS Reference ID in the 'KAS Reference#' field in the pop-up page
The selected KAS Reference# should match the newly created Job Record Entry's KAS Reference ID. This Job Record Entry is purposefully made to match the new Customer Sample Registration Record, as a new Customer Sample Registration Record will be added to the Job Record Module. You will see the Customer name auto-filled upon selection of the KAS Reference ID.
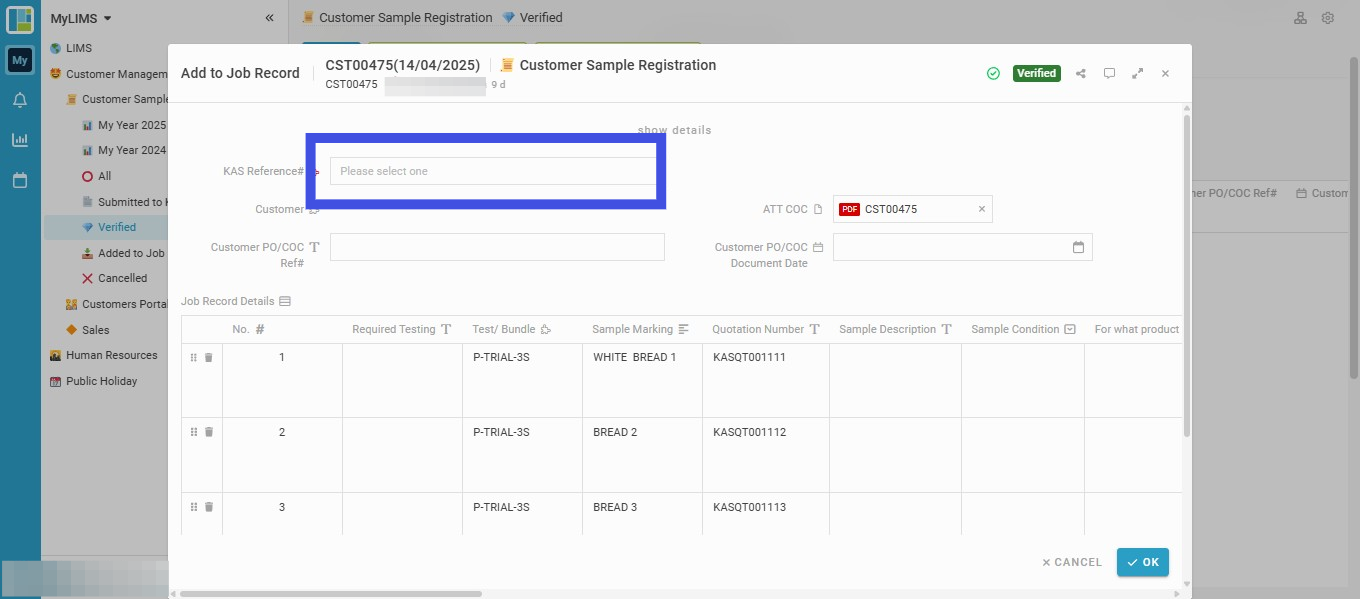
Step 8: Click the 'OK' button to confirm the submission

Step 9: Click 'LIMS'

Step 10: Click 'LIMS - Sample Activities'

Step 11: Click 'Job Records'

Step 12: Navigate to and click the 'Draft' Listing

Step 13: Enter the KAS Reference ID in the 'KAS Reference#' field to find the matching KAS Reference ID assigned to the Customer Sample Registration Record just now.

Step 14: Click the '3 dots'

Step 15: Click on 'Edit'

Step 16: Navigate to the selected sample and input its Sample Description

Step 17: Navigate to the selected sample and input its Sample Condition

Step 18: Navigate to the selected sample and assign its Product spec (if any)
Select the product specification based on the customer sample or the predetermined specification. Example: Customer A - Marinated Chicken

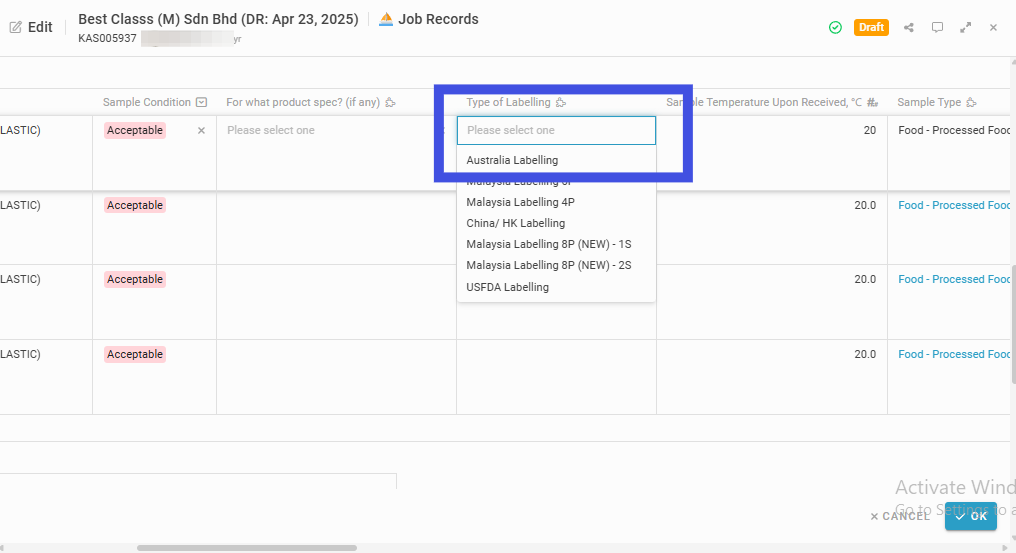
Step 19: Navigate to the selected sample and select its Type of Labelling (if any)
For sample testing with nutritional facts, a specific labeling type may be required, and the kind of labeling chosen is for Reporting purposes. Example: Australia Labelling, Malaysia Labelling 8P, USFDA Labelling
Step 20: Navigate to the selected sample and input its Sample Temperature upon receipt

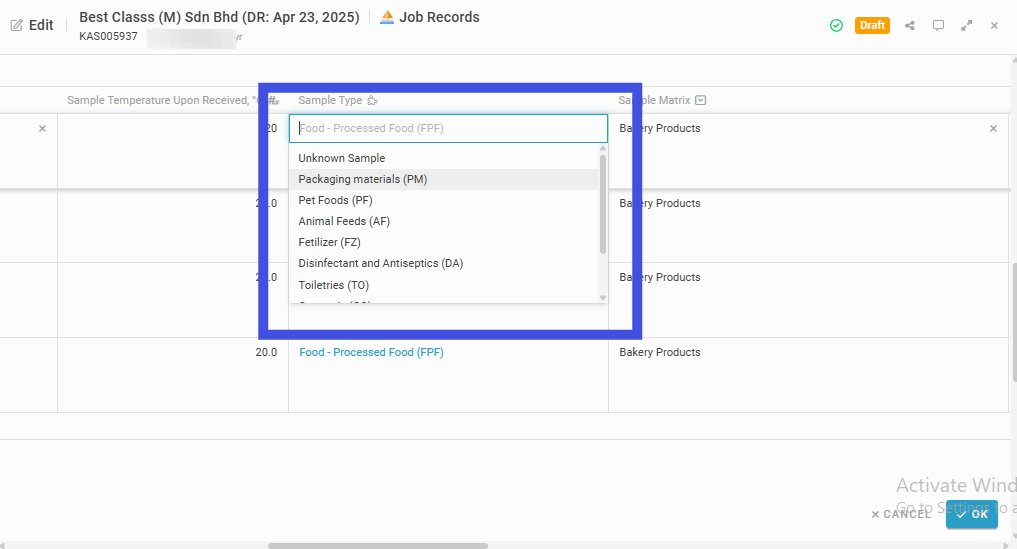
Step 21: Navigate to the selected sample and assign its Sample Type
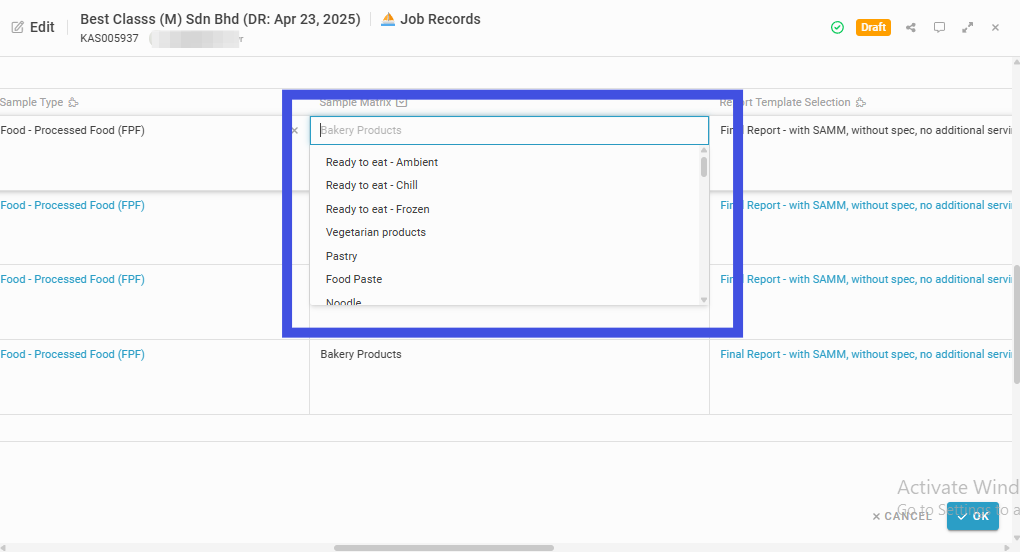
Step 22: Navigate to the selected sample and assign its Sample Matrix, which is a dropdown dependent on Sample Type
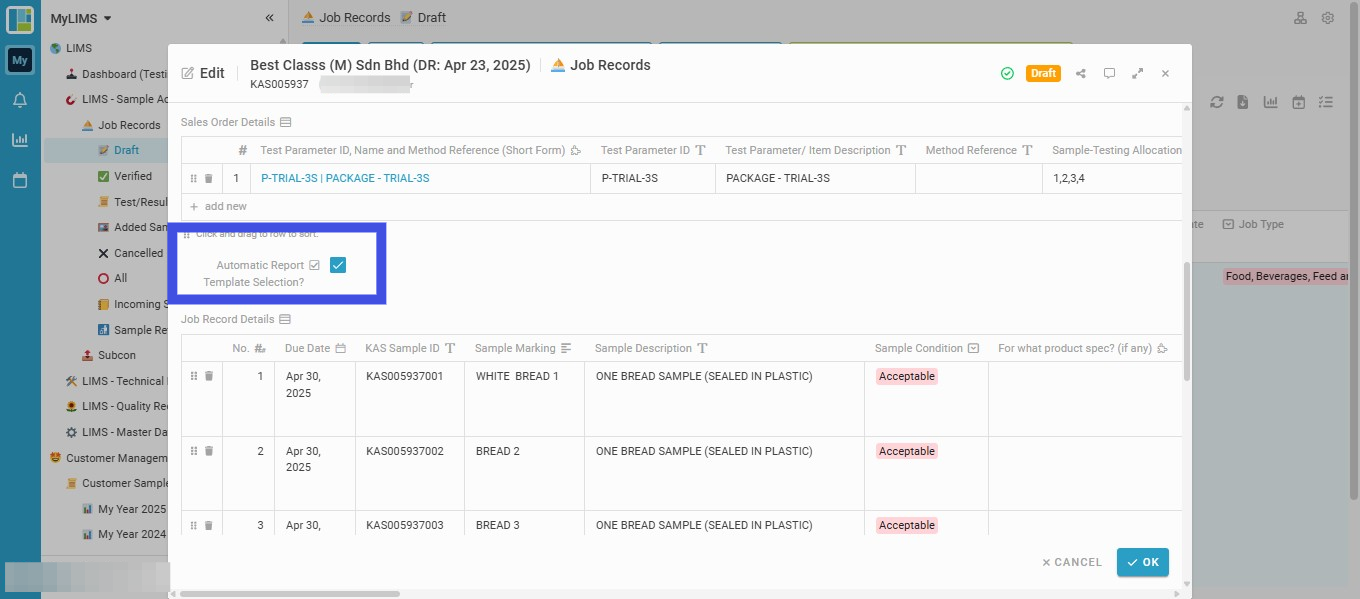
Step 23: Navigate to the selected sample and select its Report Template
The report template will be selected automatically by default. Can choose another report template based on the testing parameter or a customer's special request.
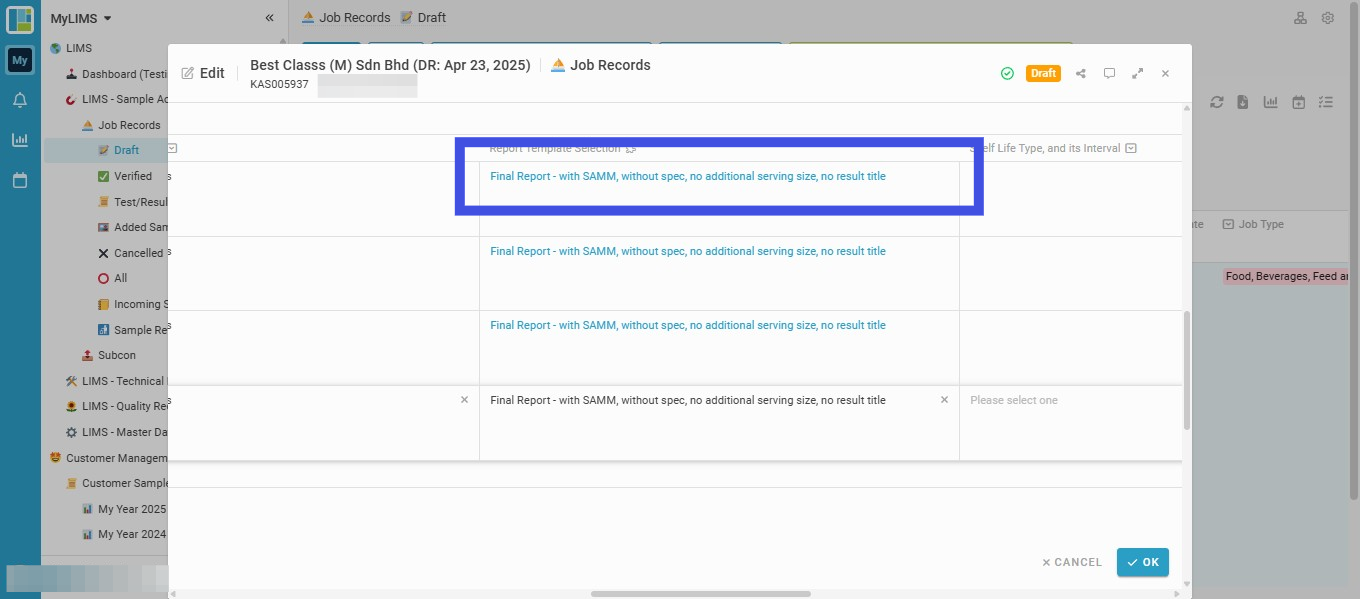
Step 24: Uncheck the 'Automatic Report Template Selection?' tick box to select another report template
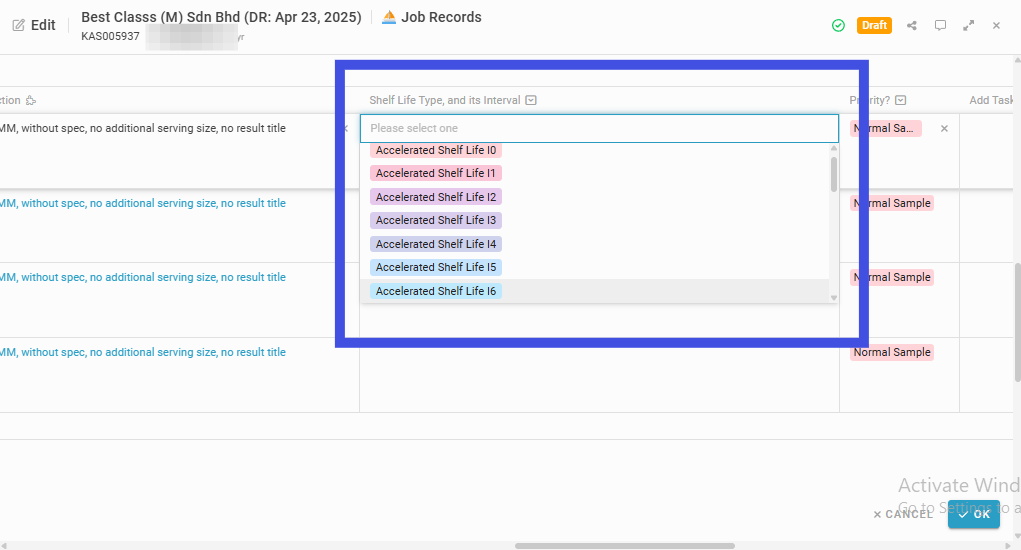
Step 25: Navigate to the selected sample and select its Shelf Life Type and its Interval (if for Shelf Life Testing). Leave blank if not for shelf life testing.
Step 26: Navigate to the selected sample and choose its Sample Priority
"Normal Sample" will appear by default when registering a new sample. Click the box to select another sample priority, such as "High Priority" and "Urgent"
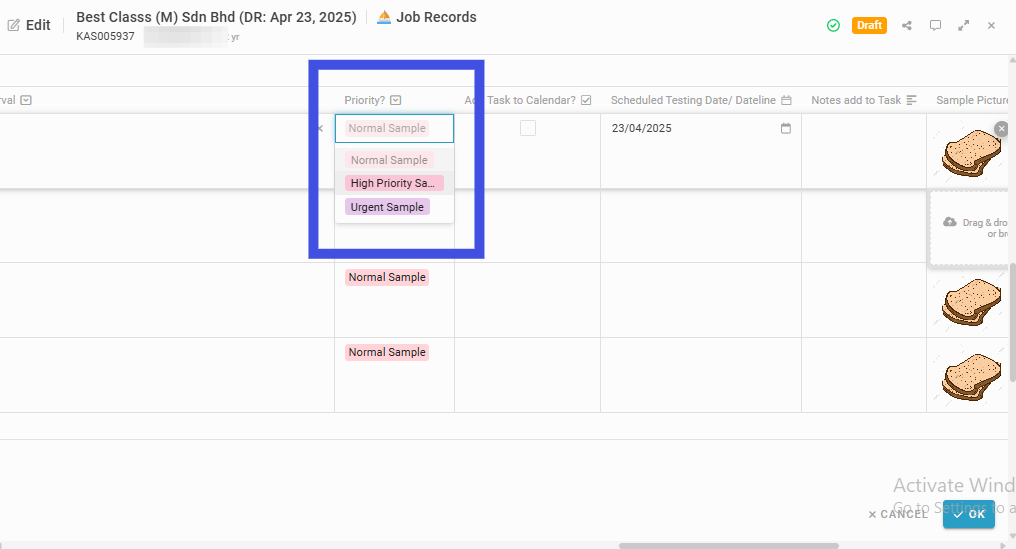
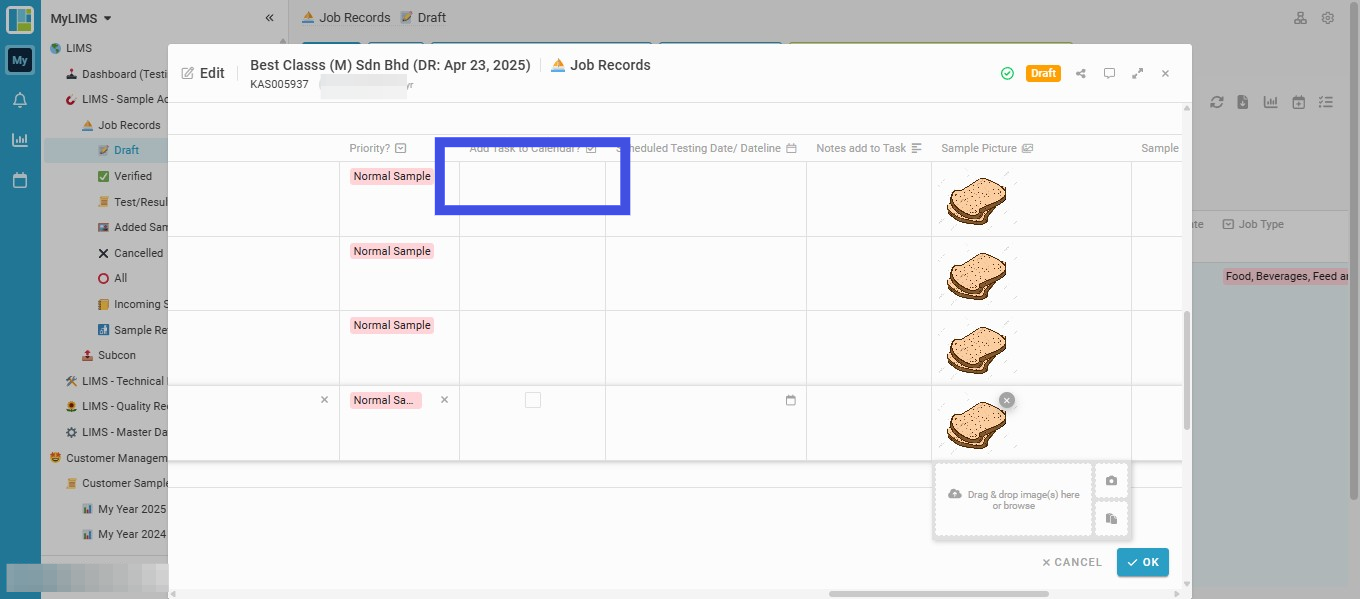
Step 27: Tick the box to add the Task to the Calendar (for scheduling activities)
Adding a Task to the Calendar is necessary for daily scheduling, operational planning, and follow-up activities, especially for Urgent, high-priority, or time-sensitive samples. This task will add to the Task Management Module.
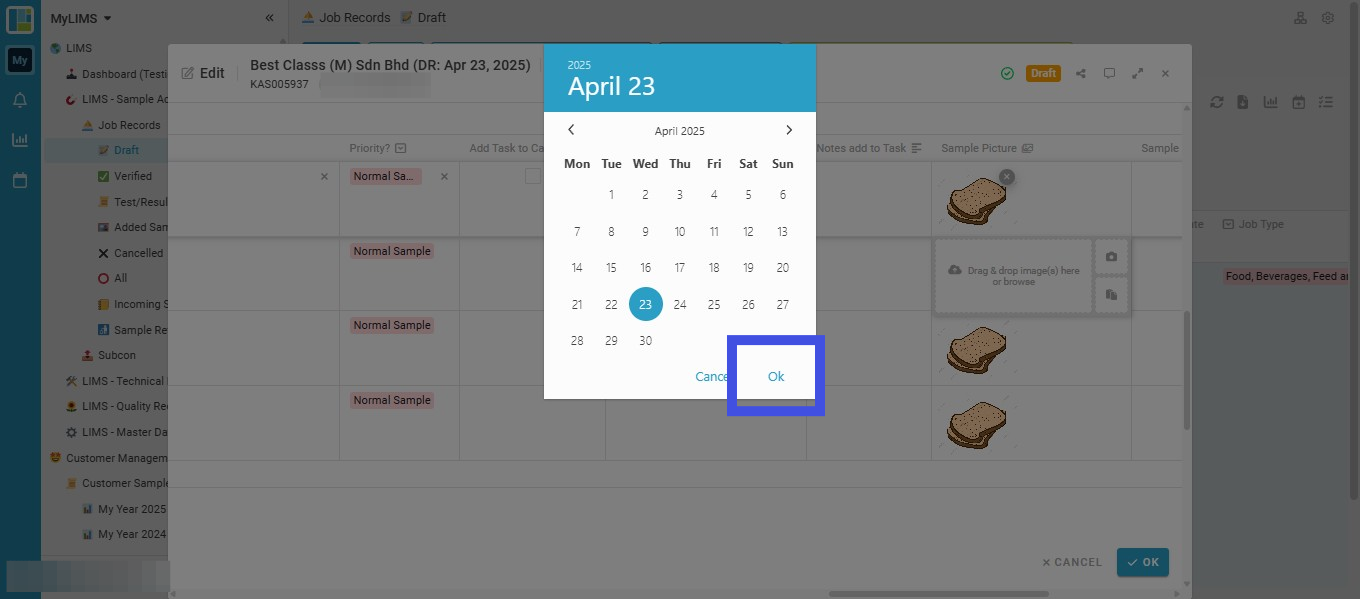
Step 28: Choose a date in the field 'Scheduled Testing Date/ Dateline' for scheduling activities of the selected sample, and click 'OK' to confirm the date
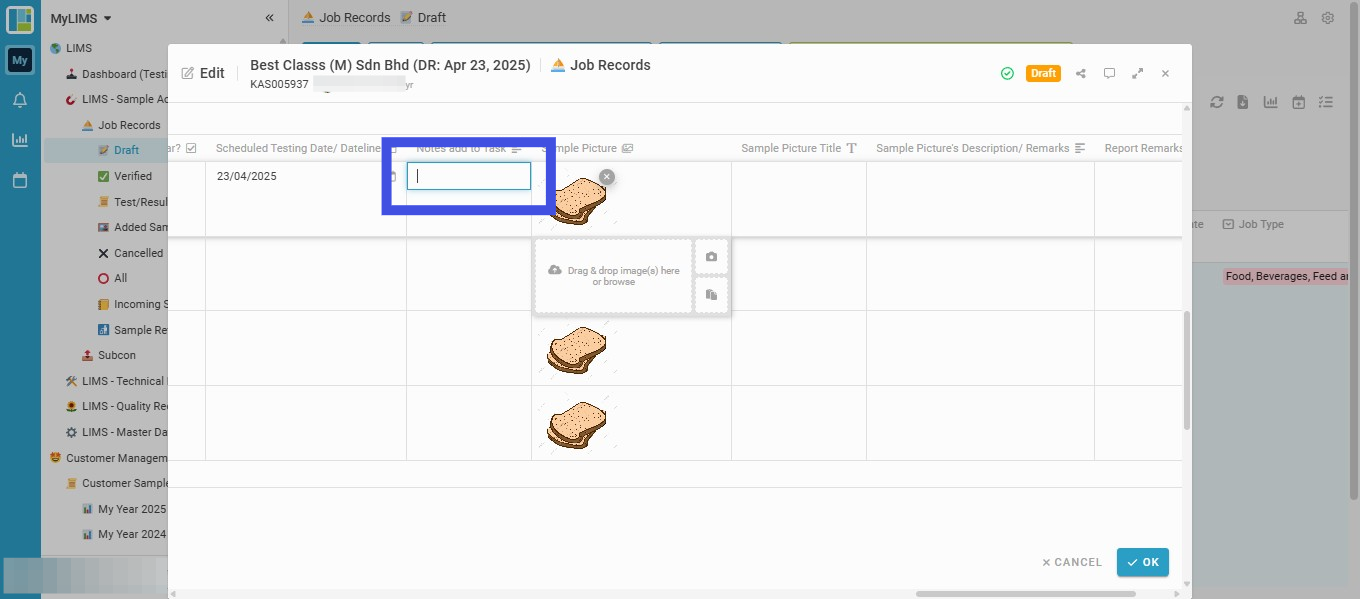
Step 29: Navigate to the selected sample and enter its notes if you wish to add the note to the Task
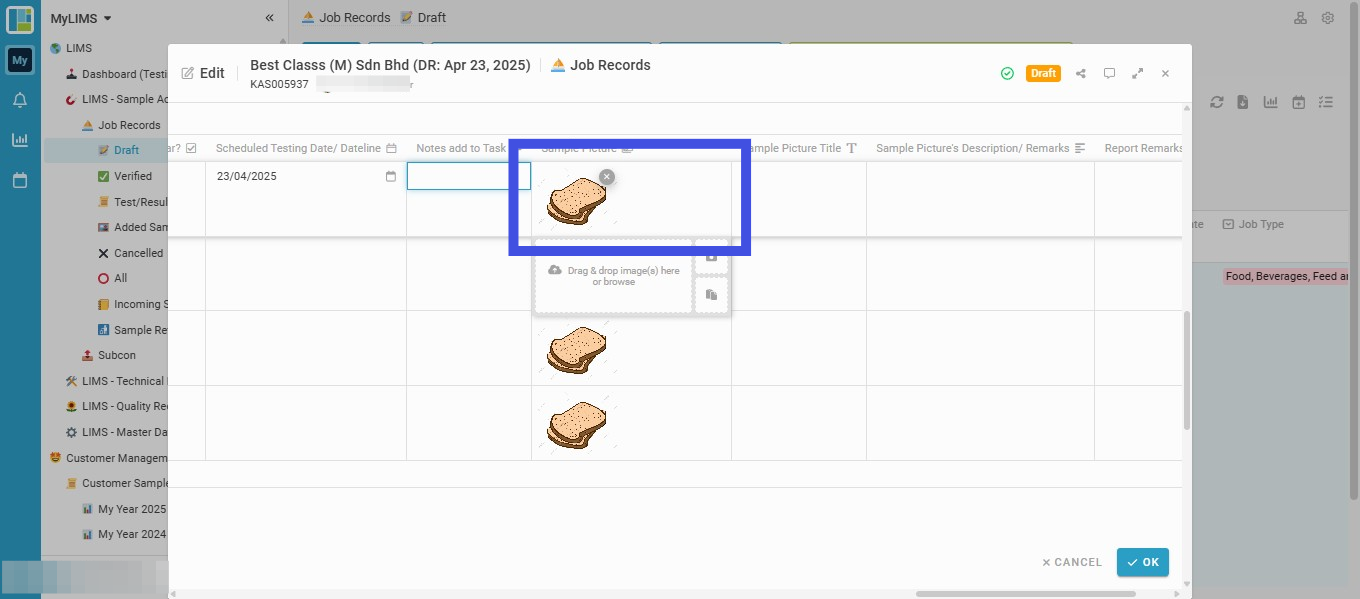
Step 30: Navigate to the selected sample and upload its sample picture to the 'Sample Picture' field (if any)
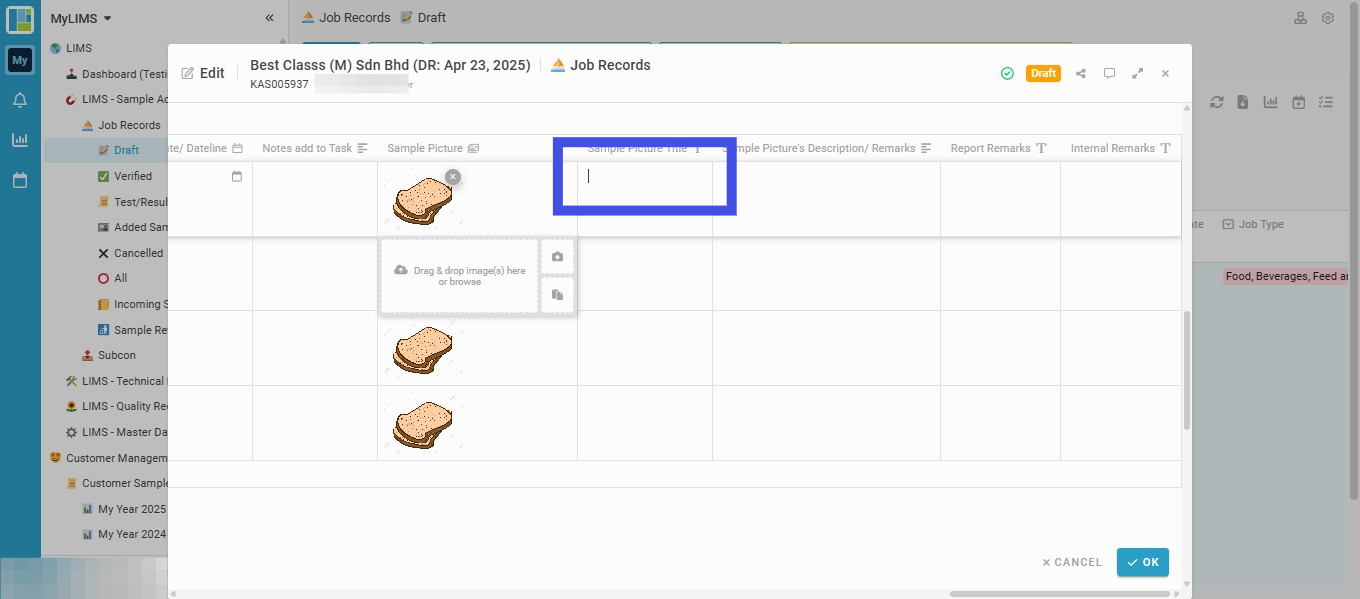
Step 31: Navigate to the selected sample and insert its Sample Picture Title into the 'Sample Picture Title' field (if any)
Step 32: Navigate to the selected sample and insert its Sample Picture Description/ Remarks into the 'Sample Picture Description/ Remarks' field (if any)

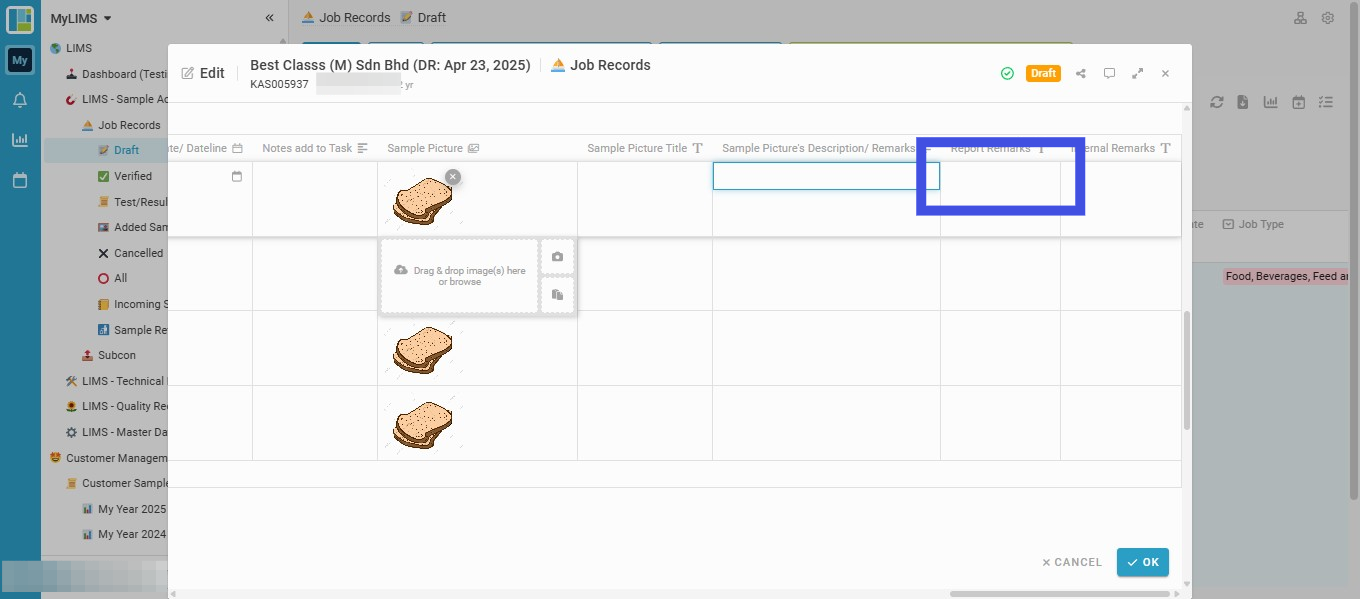
Step 33: Navigate to the selected sample and insert its Report Remarks into the 'Report Remarks' field (if any)
Step 34: Navigate to the selected sample and insert its Internal Remarks into the 'Internal Remarks' field (if any)
Internal Remarks will not be shown in the report. These are internal remarks for samples only.

Step 35: Click the 'OK' button to confirm the submission

Step 36: Click on the 'View' button to view the Job Record Entry if you wish to see the Entry's details
