Create a New Customer Sample Registration Records
Interactive Tour:
Create a New Customer Sample Registration Record
Guide: Create a New Customer Sample Registration Record (27 Steps)
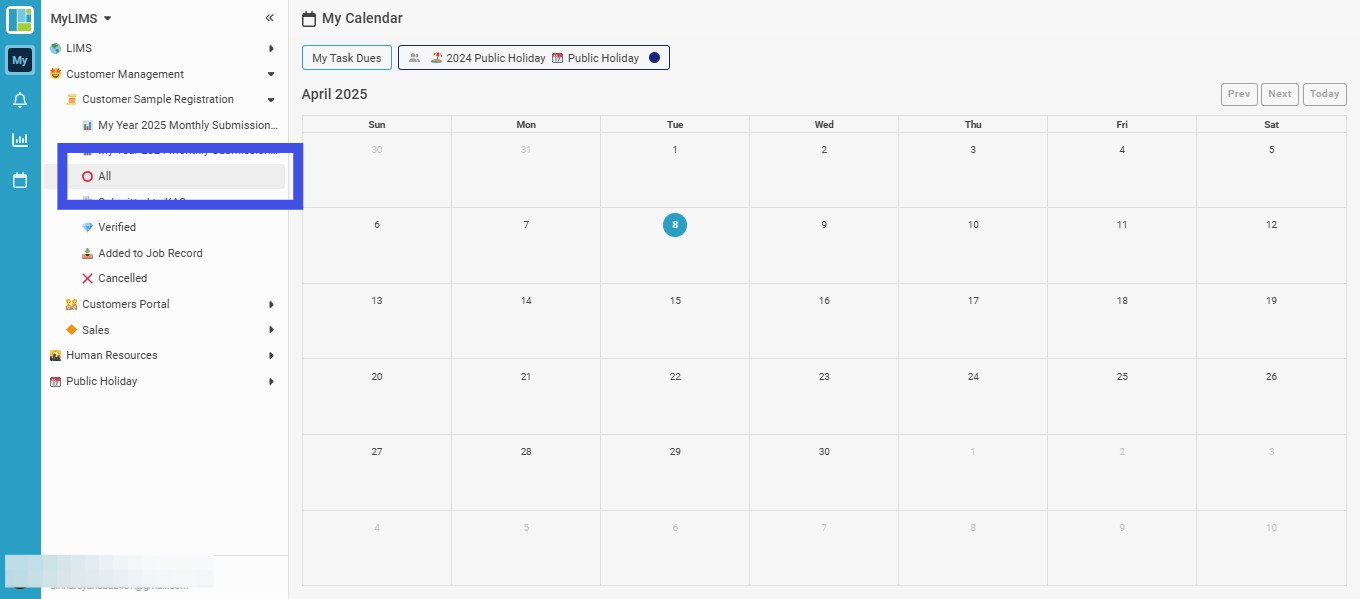
Step 1: Click the 'Customer Management'

Step 2: Navigate to 'All' Listing
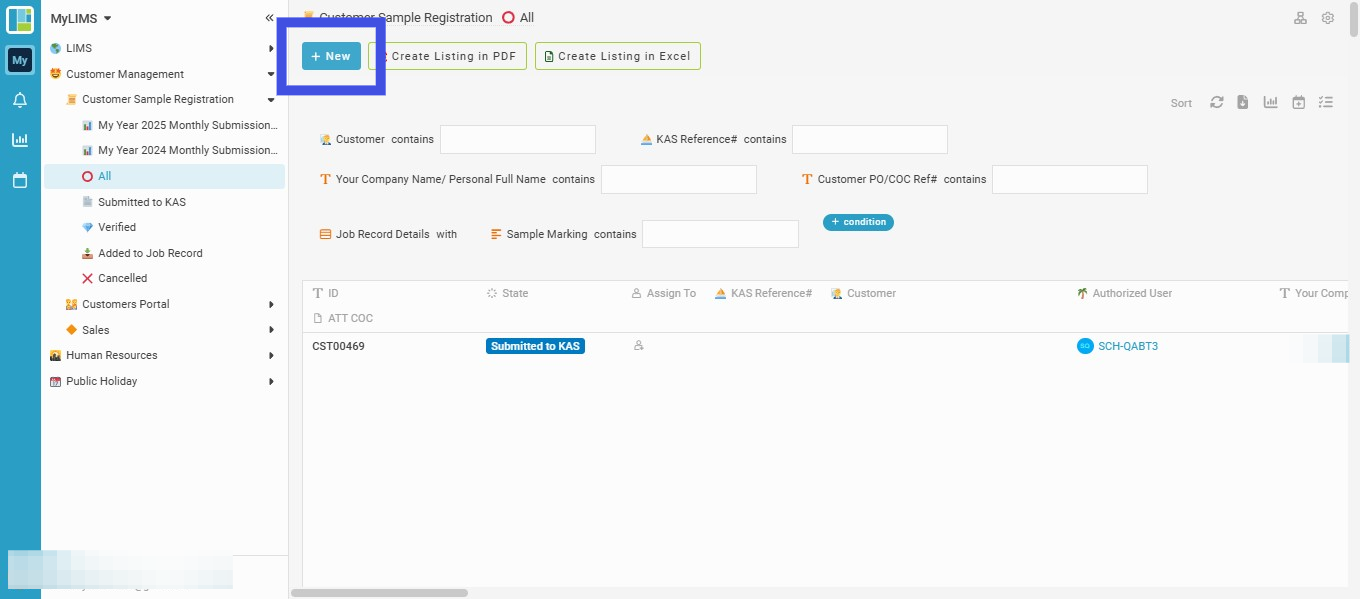
Step 3: Navigate to New and click to create a new record
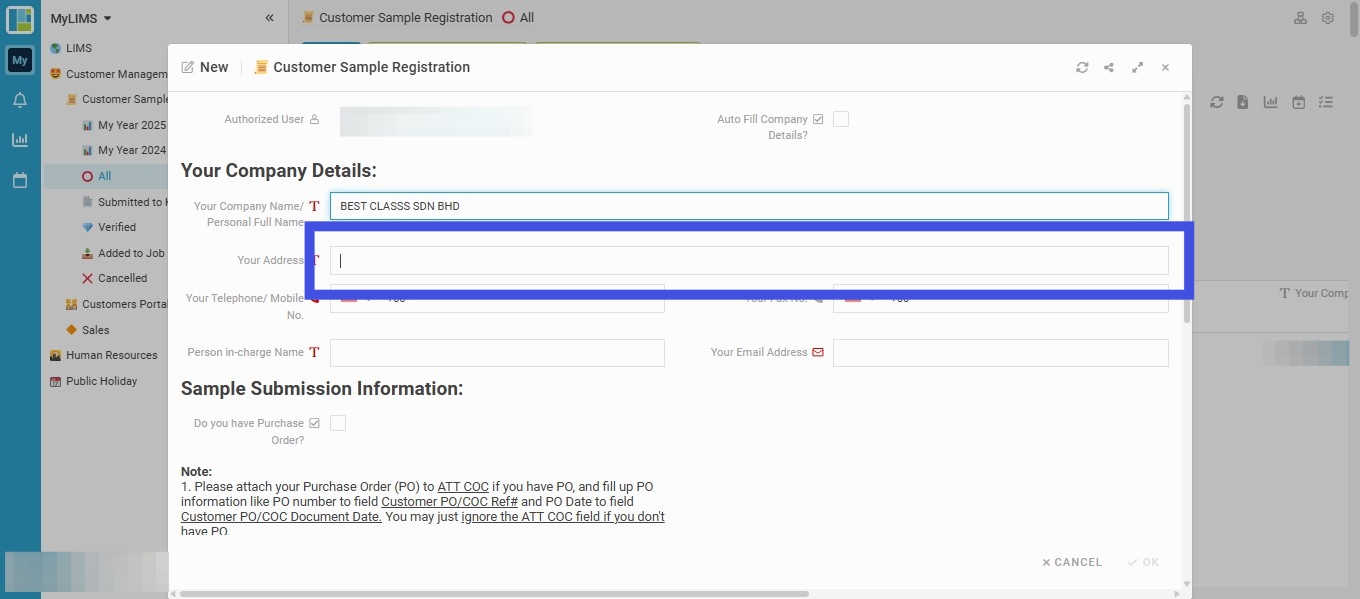
Step 4: Enter your Company Name into the field 'Your Company Name/ Personal Full Name'
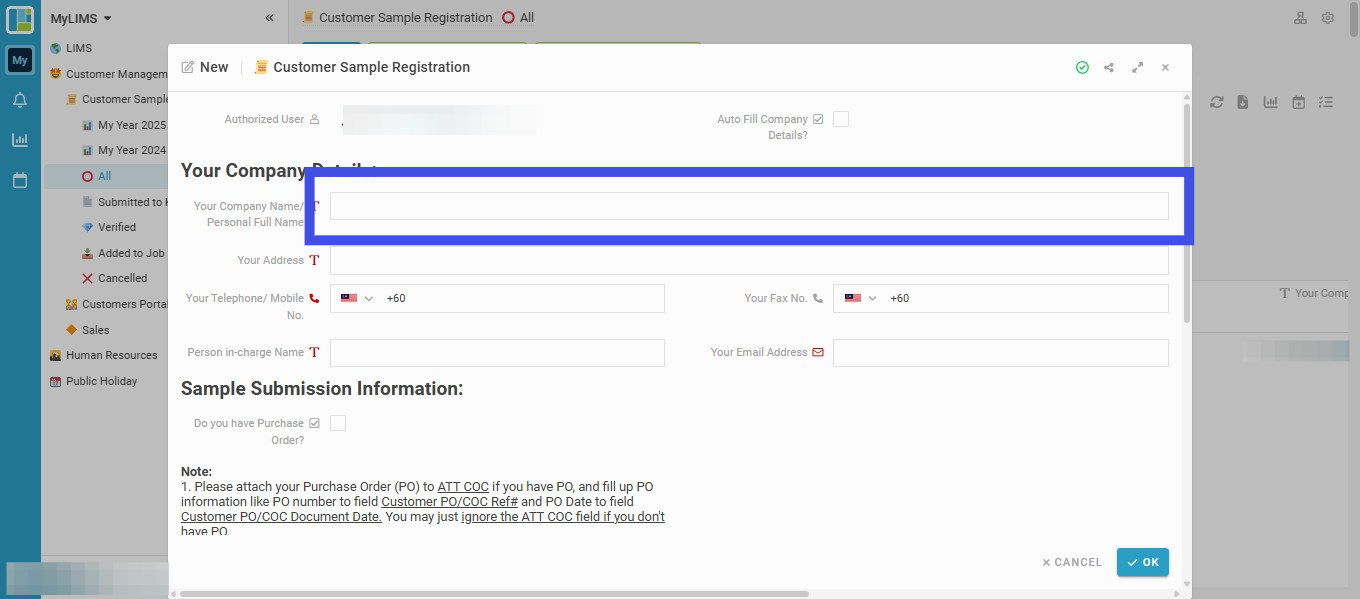
a. Non-MyLIMS Authorizer customer You will need to fill in the Company Details manually
b. MyLIMS Authorizer customer You may tick 'Auto Fill Company Details?' and MyLIMS will auto-fill the company details


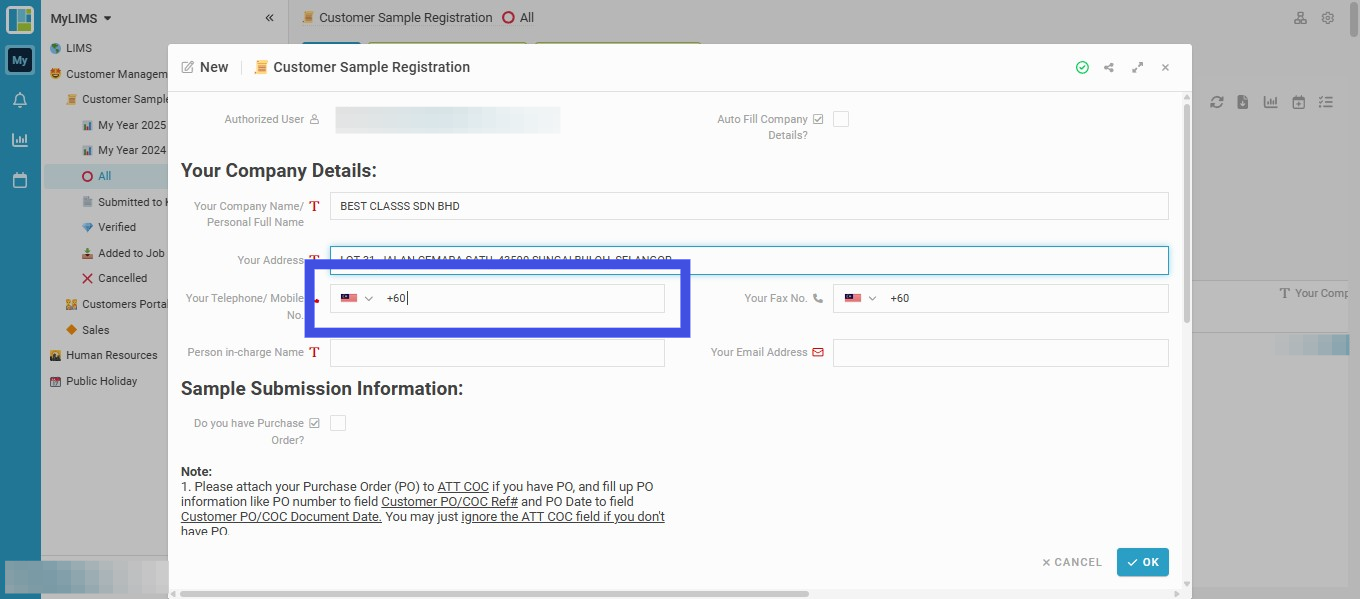
Step 5: Enter the Address in the field 'Your Address'
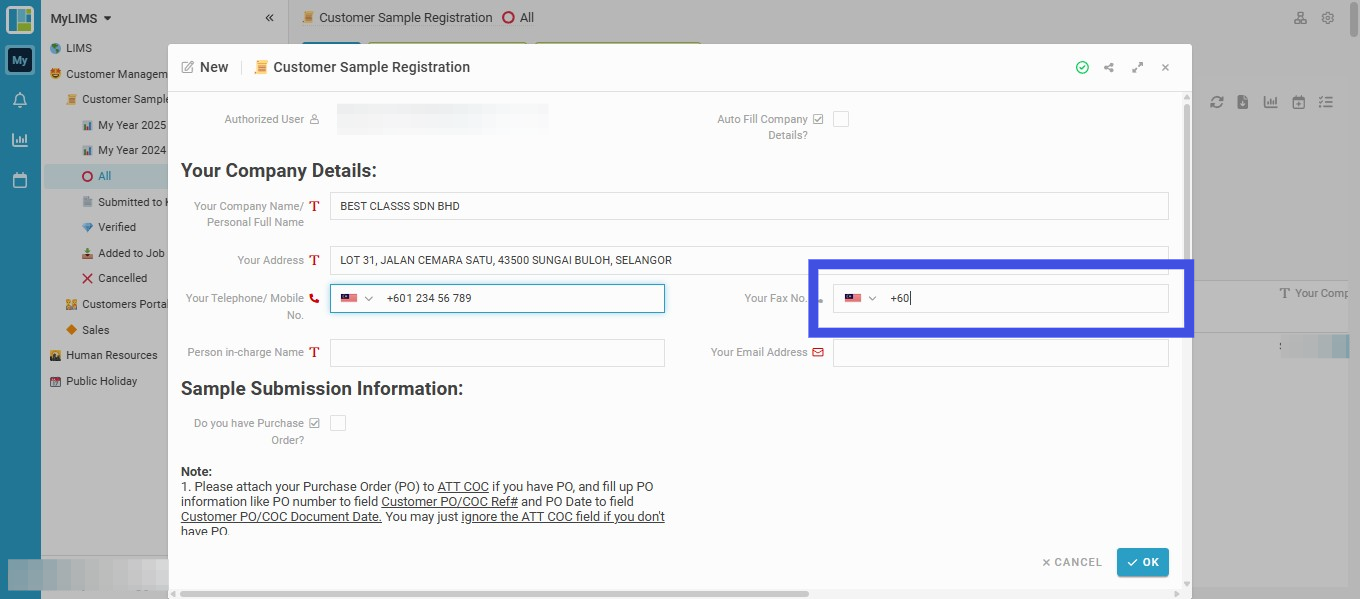
Step 6: Enter the Telephone/ Mobile Number
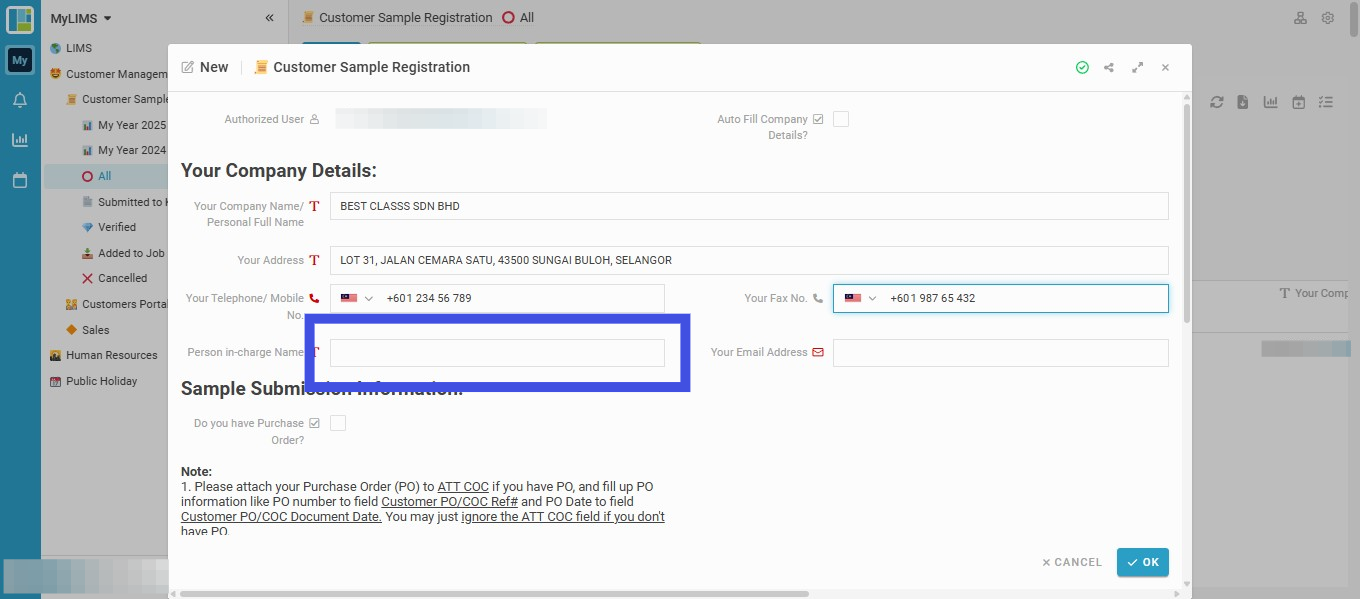
Step 7: Enter the Fax Number (if any)
Step 8: Enter Person-in-Charge Name
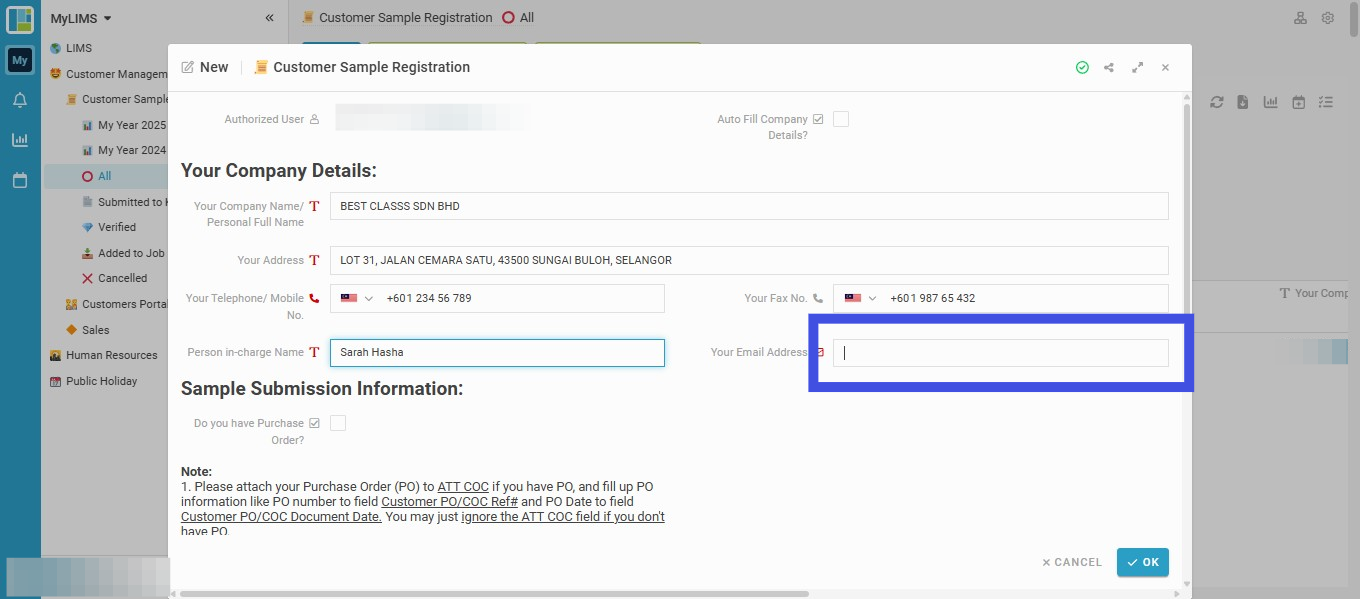
Step 9: Enter Email Address
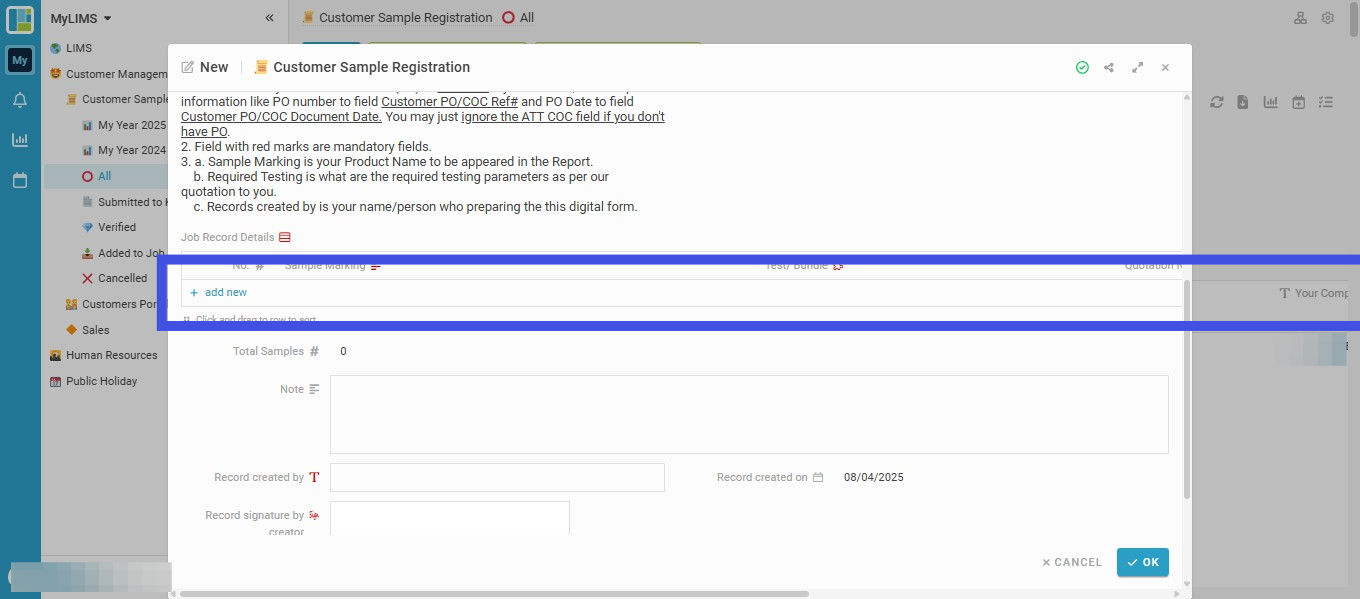
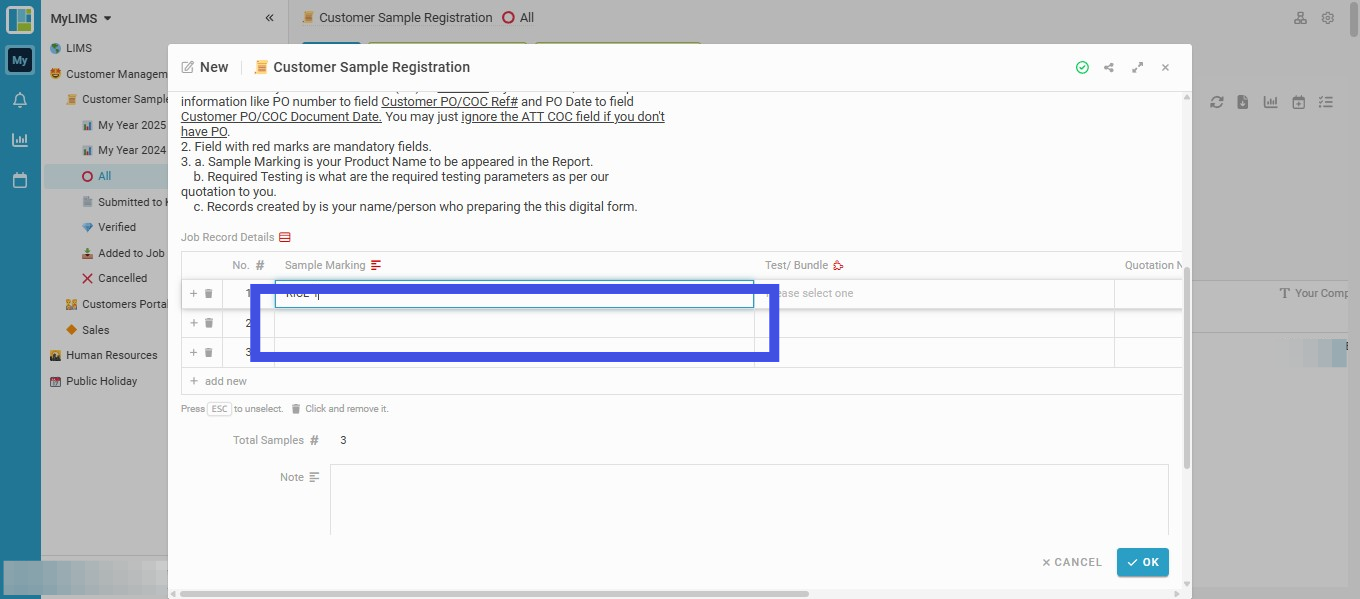
Step 10: Add sample(s) to Job Record Details Table by navigating to the '+ add new'
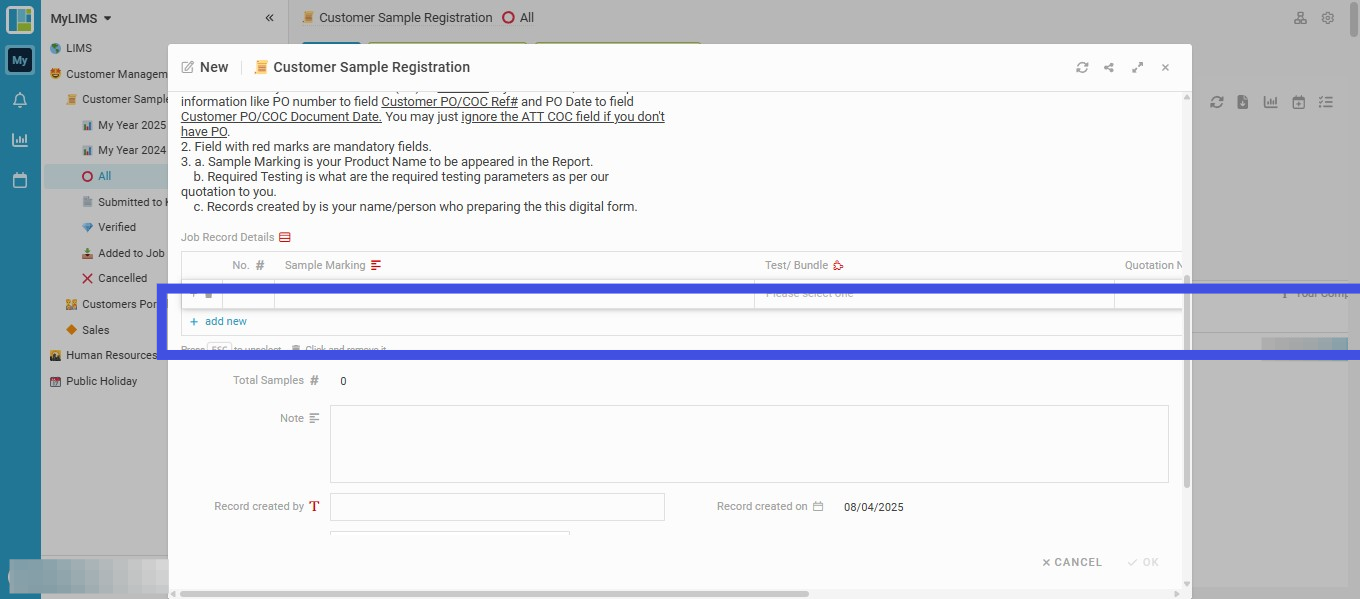
Step 11: Continue adding more samples
You may add new row(s) to the table 'Job Record Details'. Each row represents one sample submitted to the Lab for testing. E.g., five rows are equivalent to 5 samples submitted by the Customer.
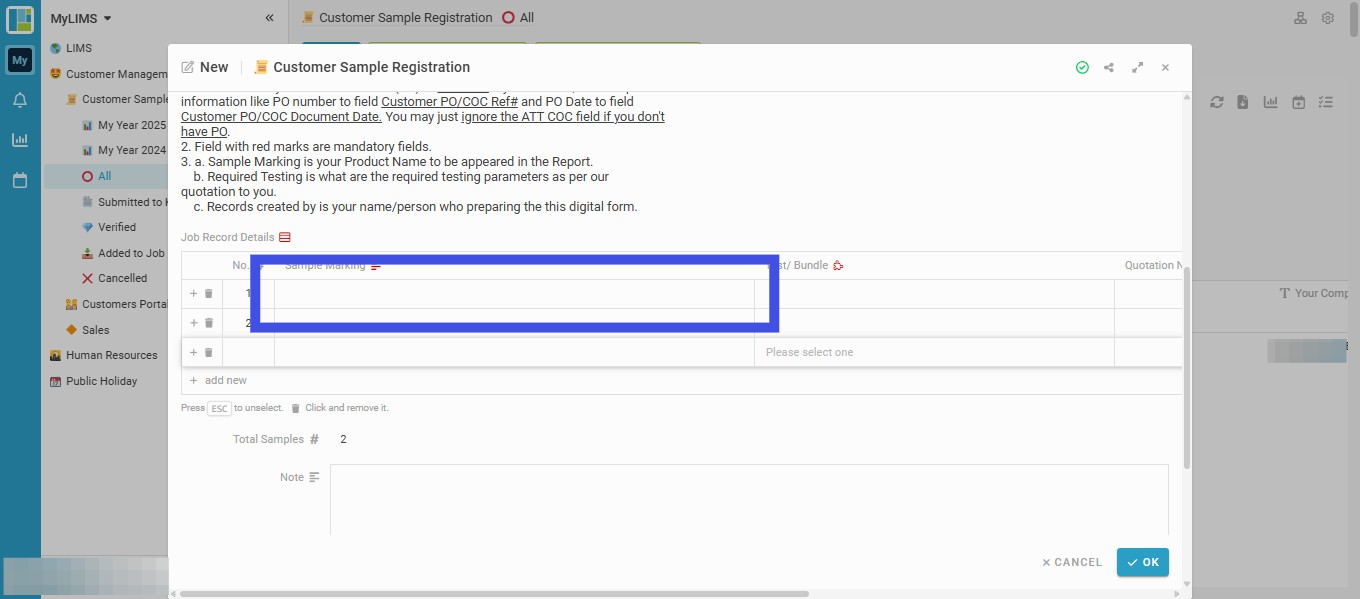
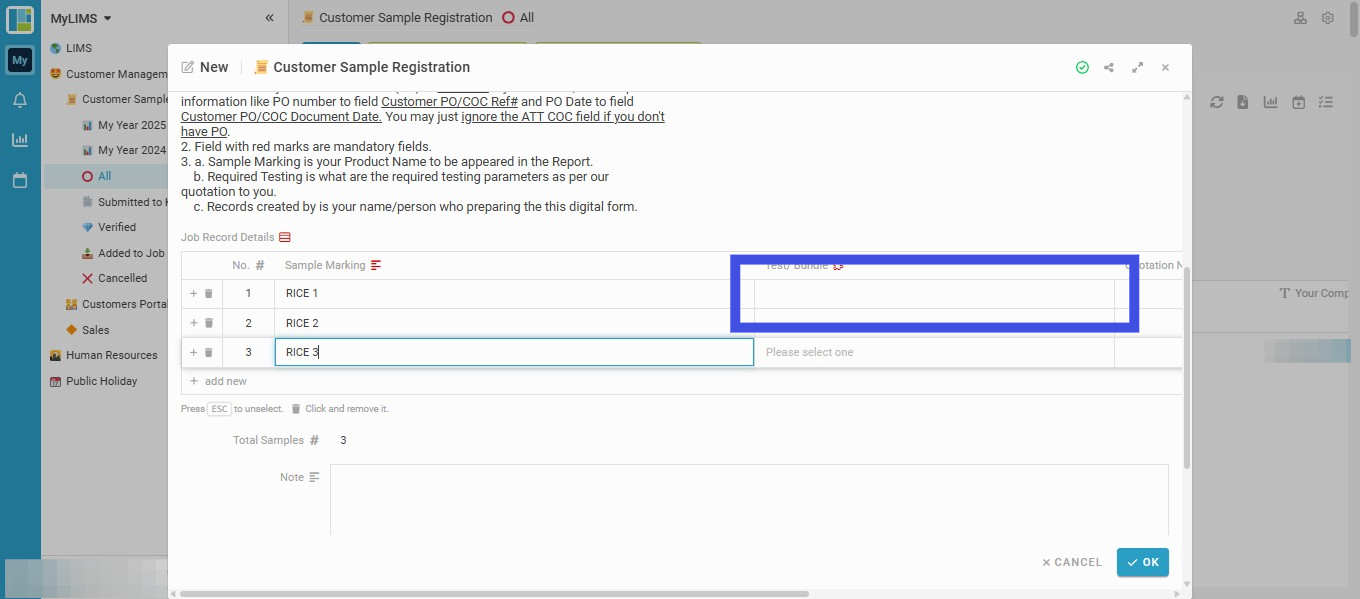
Step 12: Enter Sample Marking for each sample submitted
You can add detailed sample information, such as Production Date, Batch Number, Expired Date, etc, for each sample. Please note that the Sample Marking entered here will display in the Report.
Step 13: Continue inserting Sample Marking
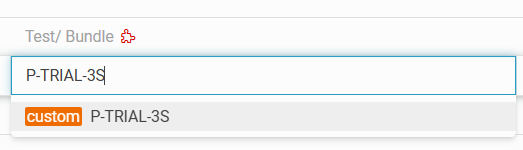
Step 14: Insert Test/Bundle
a. Non-MyLIMS Authorizer customer
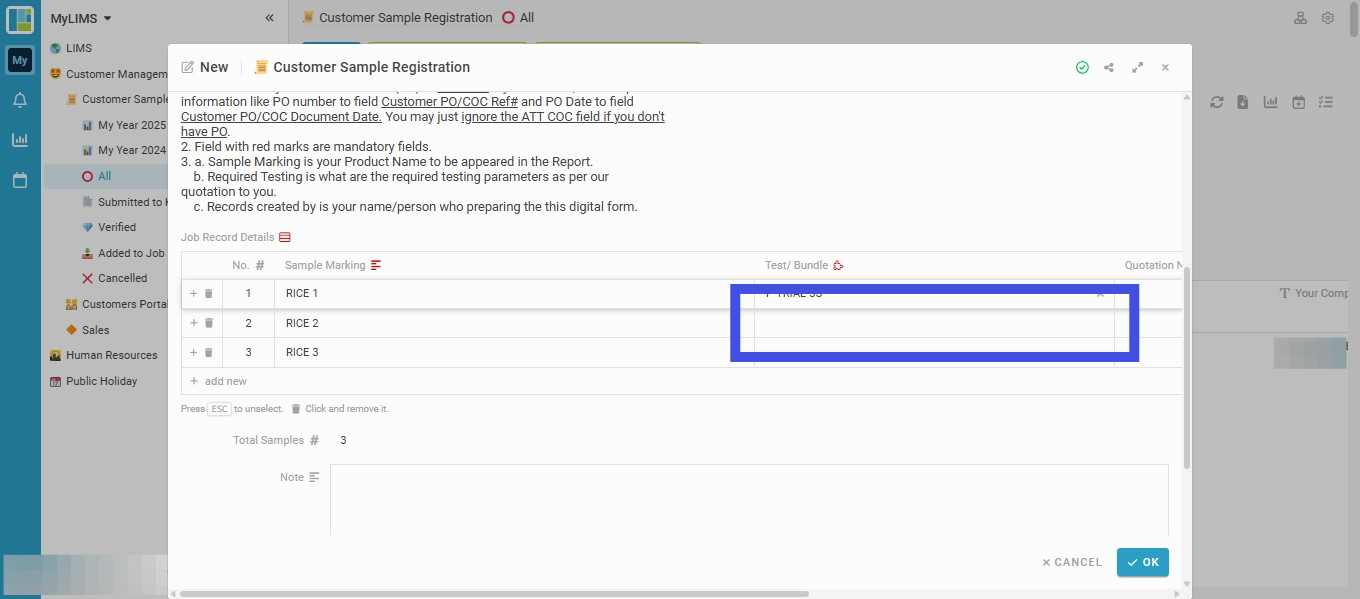
For the "Test/Bundle" column, the Customer (non-MyLIMS authorizer) can fill out the required testing request (based on your quotation). Just type or copy and paste the Testing Description from the Quotation into this field and click the 'custom xxx' to save the testing details. In this example, we are using 'P-TRIAL-3S'
For the "Test/Bundle" column, the Customer (non-MyLIMS authorizer) can fill out the required testing request (based on your quotation). Just type or copy and paste the Testing Description from the Quotation into this field and click the 'custom xxx' to save the testing details. In this example, we are using 'P-TRIAL-3S'

b. MyLIMS Authorizer customer
For the "Test/Bundle" column, the Customer (MyLIMS authorizer) can pick the required Test/ Bundle from the dropdown menu as below. For anything not listed in the dropdown menu, you can create new 'custom xxx' tests and save the testing details.

For the "Test/Bundle" column, the Customer (MyLIMS authorizer) can pick the required Test/ Bundle from the dropdown menu as below. For anything not listed in the dropdown menu, you can create new 'custom xxx' tests and save the testing details.

Step 15: Continue inserting the Test/Bundle for the rest of the samples
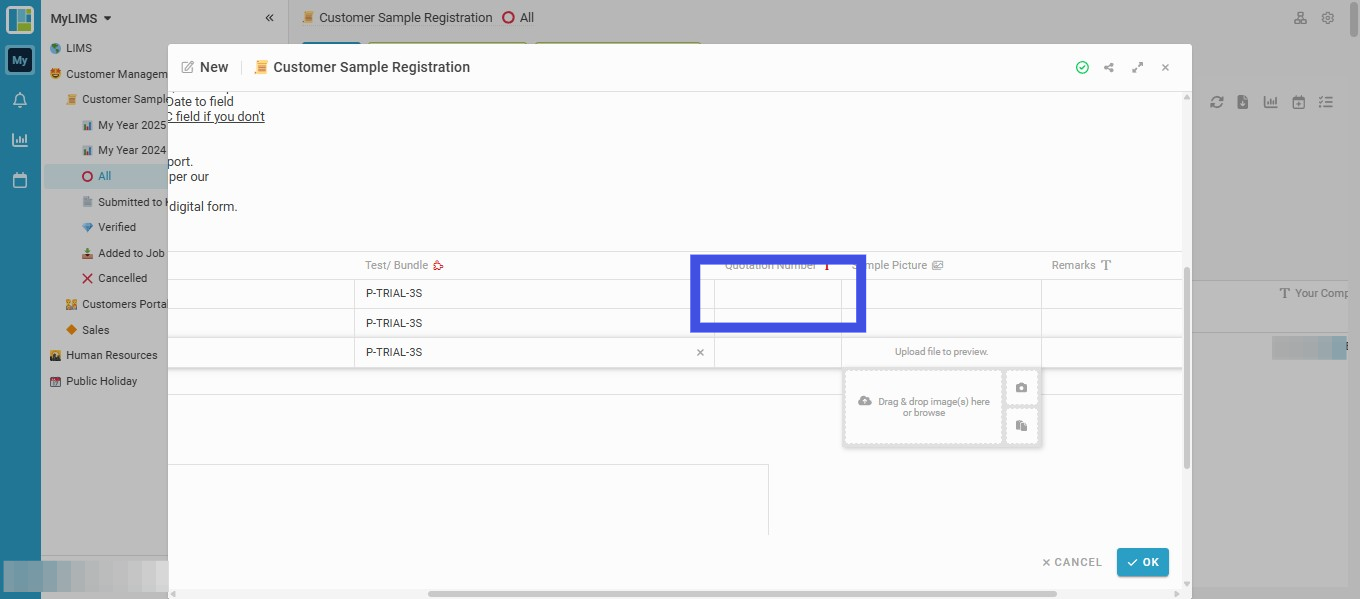
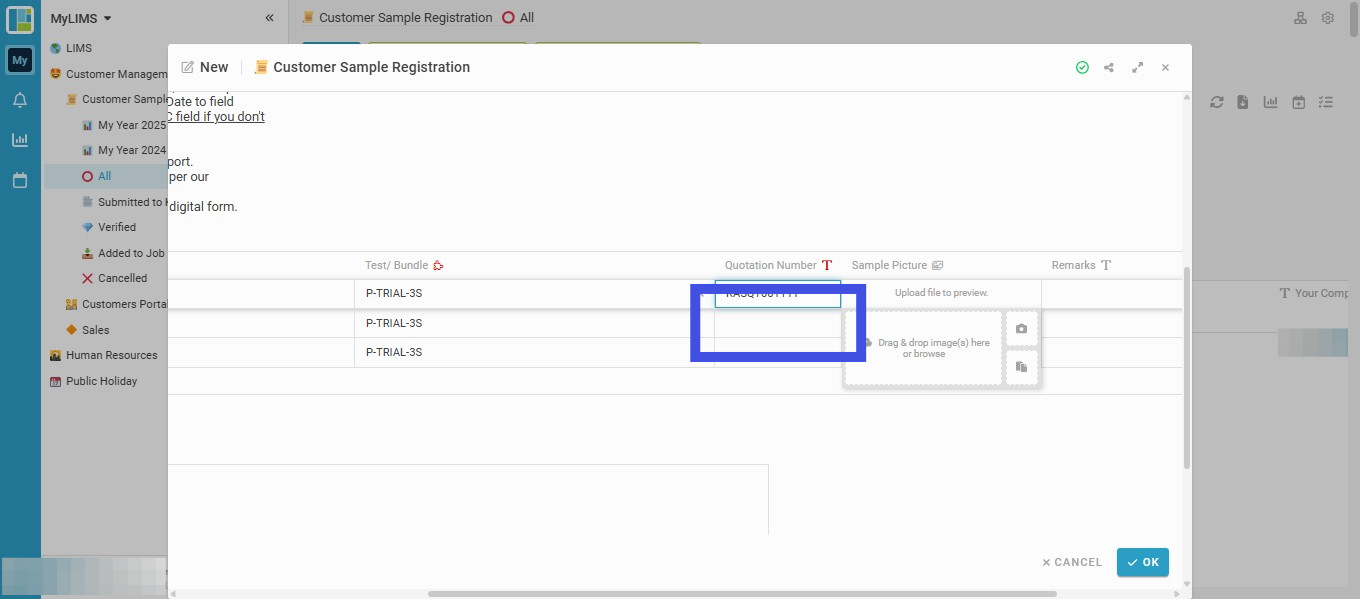
Step 16: Insert Quotation Number for each sample
You may copy and paste the quotation number from our quotation. E.g., of our quotation number, KASQT00XXXX
Step 17: Continue inserting the Quotation Number for the rest of the samples
Step 18: Navigate to the 'Sample Picture' column of a selected sample to add a Sample Picture (if you wish)
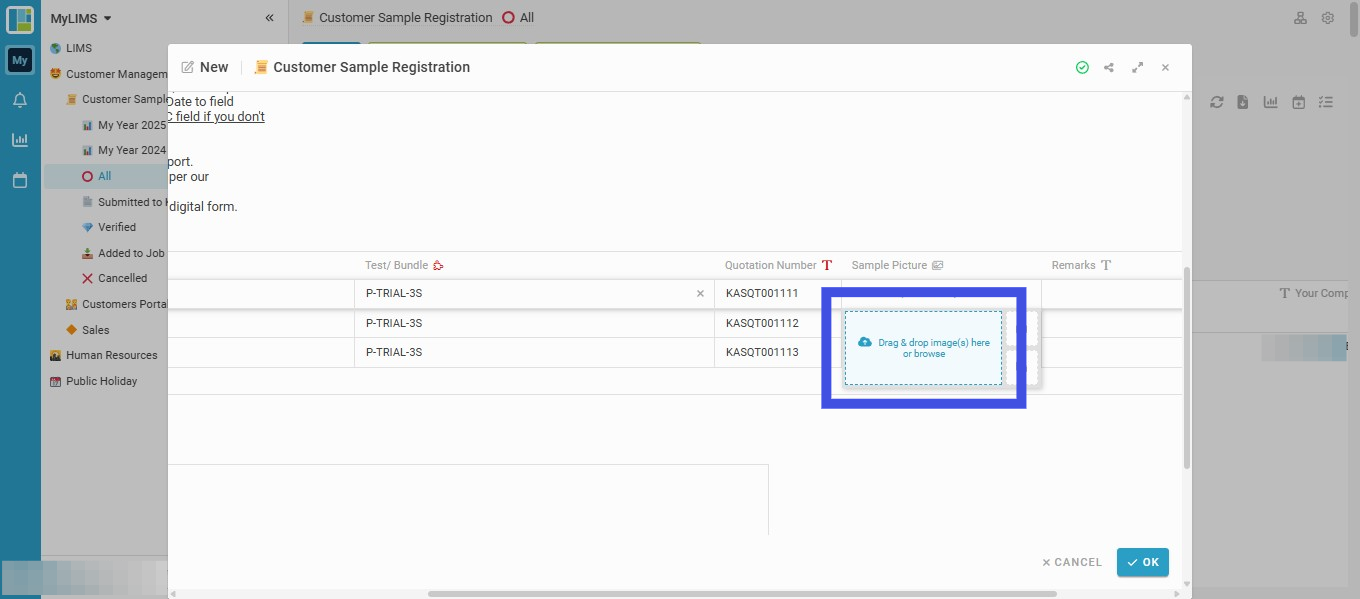
Step 19: Insert Sample Picture by clicking 'Drag & drop image(s) here or browse'
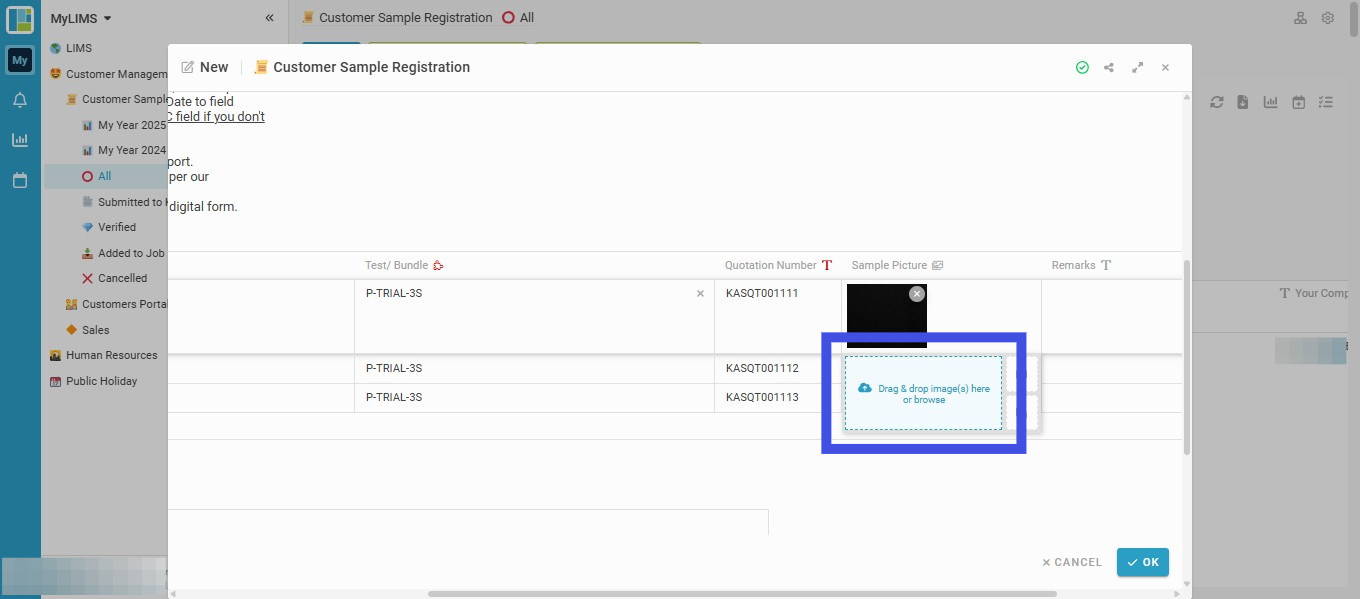
Step 20: Continue adding the Sample Picture for the rest of the samples

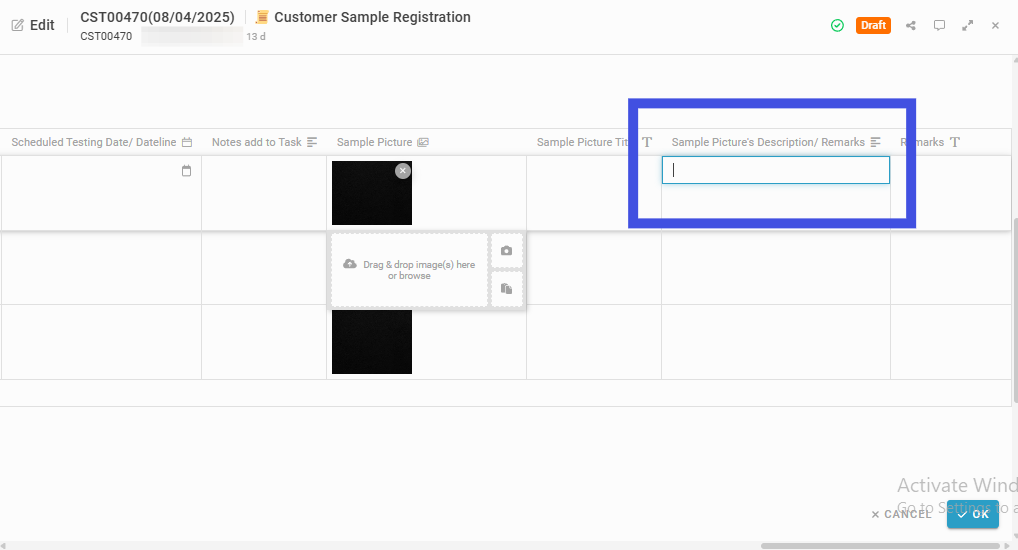
Step 21: Add Sample Picture's Description/ Remarks for the respective sample (if any)
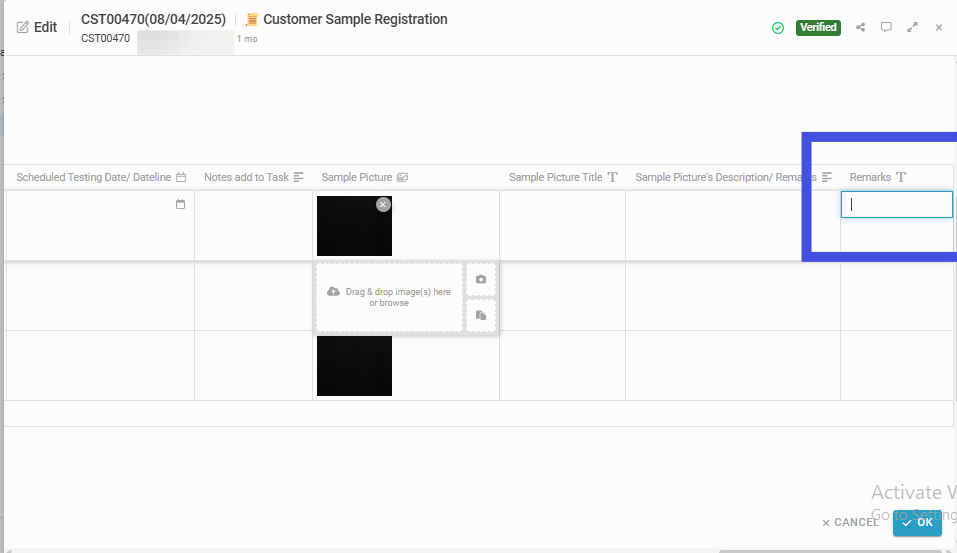
Step 22: Add Remarks (if any)
Example: URGENT SAMPLE – Please proceed with testing once received Please conduct testing on dd/mm/yyyy
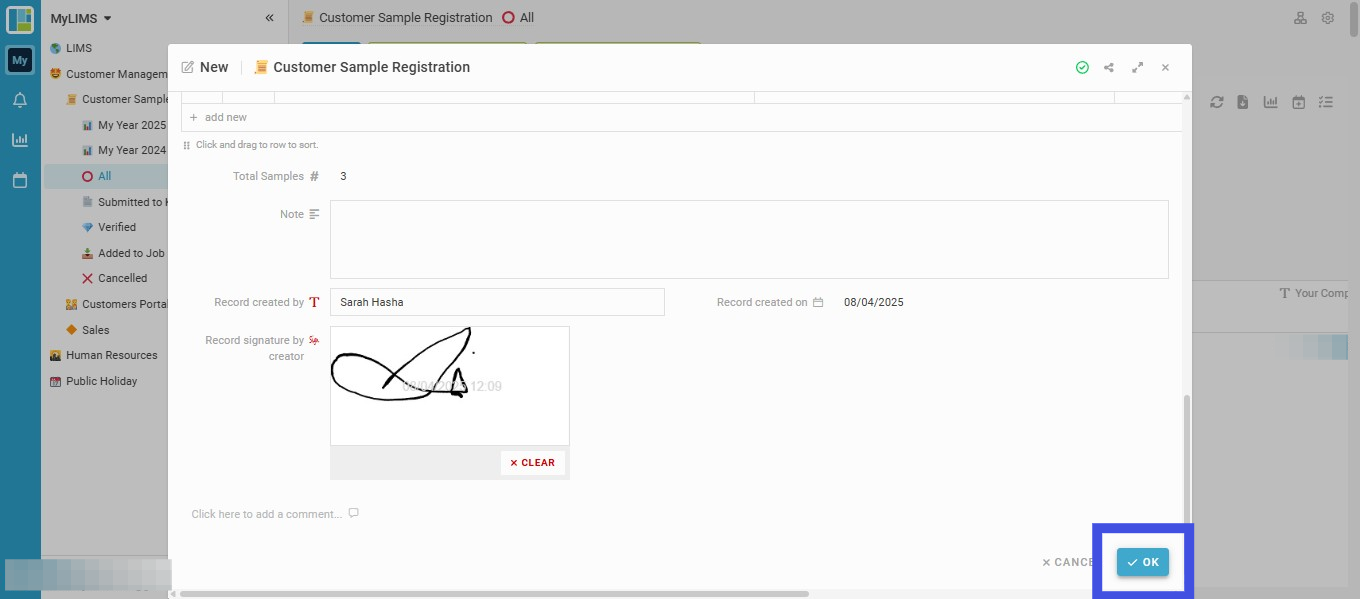
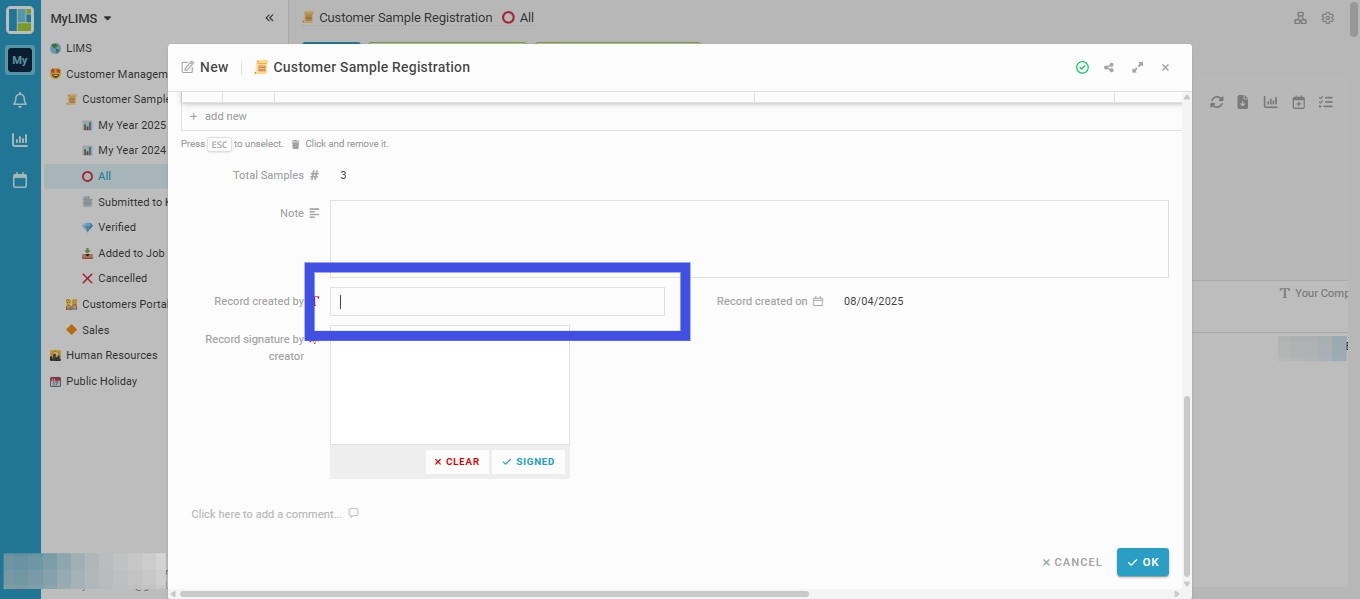
Step 23: Navigate to 'Record Created By' to enter the creator's name
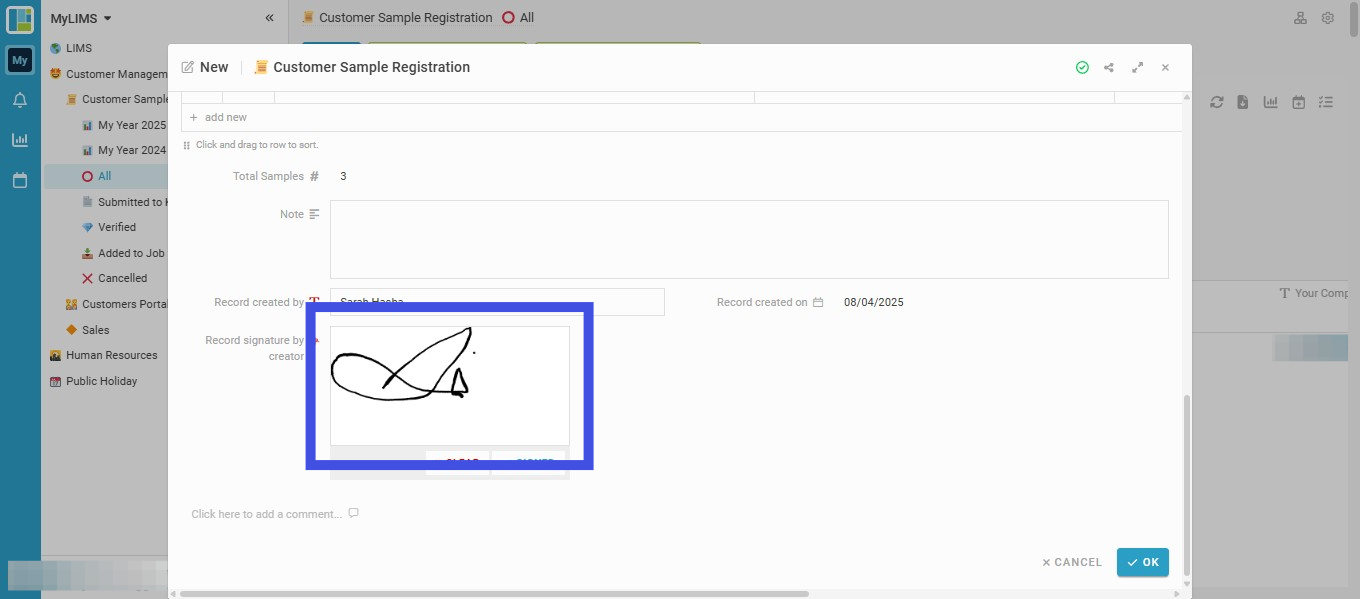
Step 24: Navigate to the 'Record signature by creator'
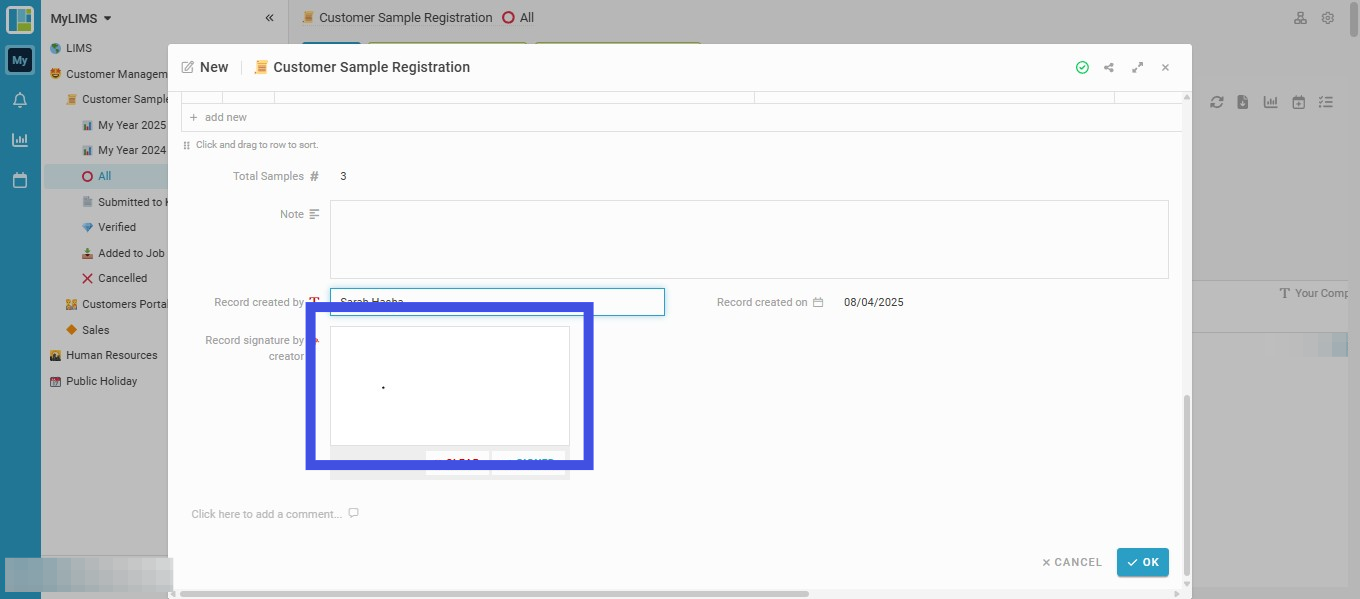
Step 25: Sign here
The person who creates this record is to sign in this field.
Step 26: Click the 'Signed' button to save the signature
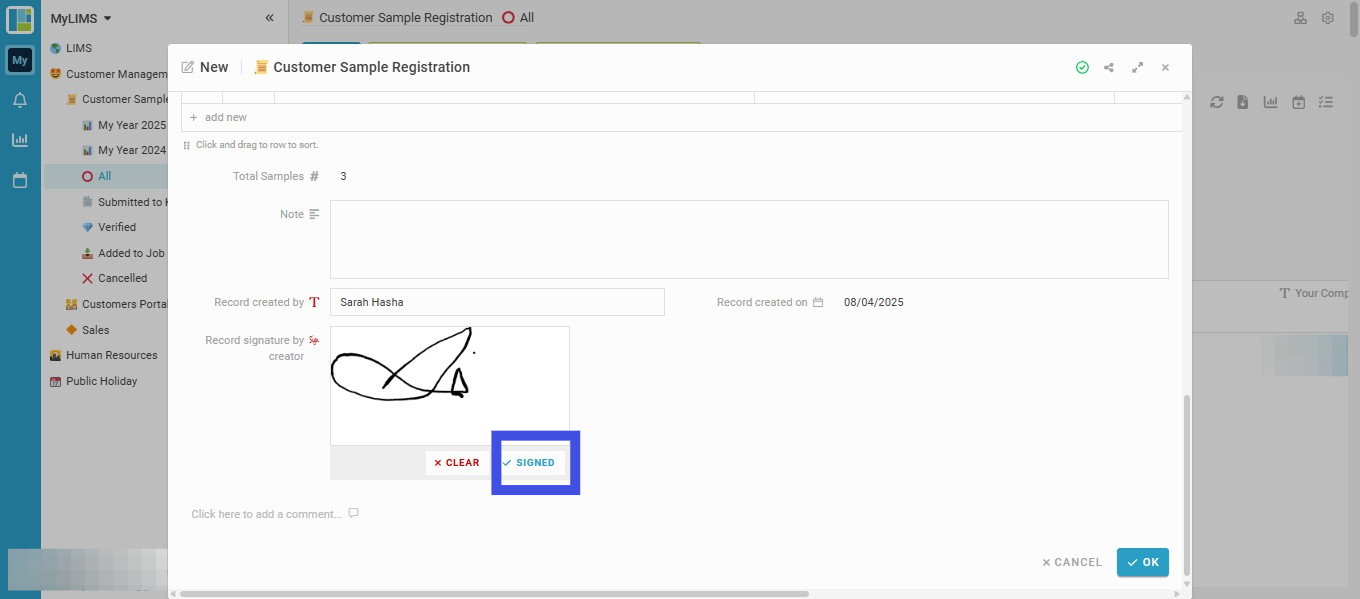
Step 27: Click the 'OK' button to submit the Entry