Print Incoming Sample Registration Records
Interactive Tour:
Print Incoming Sample Registration Records
Guide: Print Incoming Sample Registration Records (17 Steps)
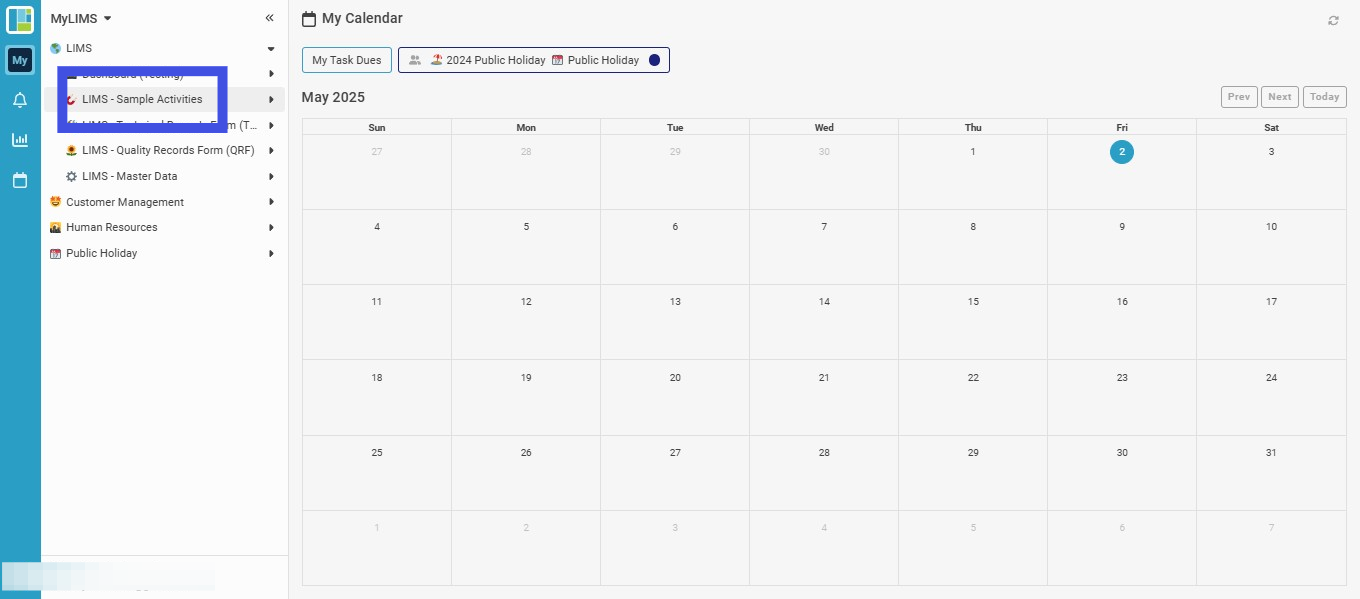
Step 1: Click 'LIMS'

Step 2: Click 'LIMS - Sample Activities'
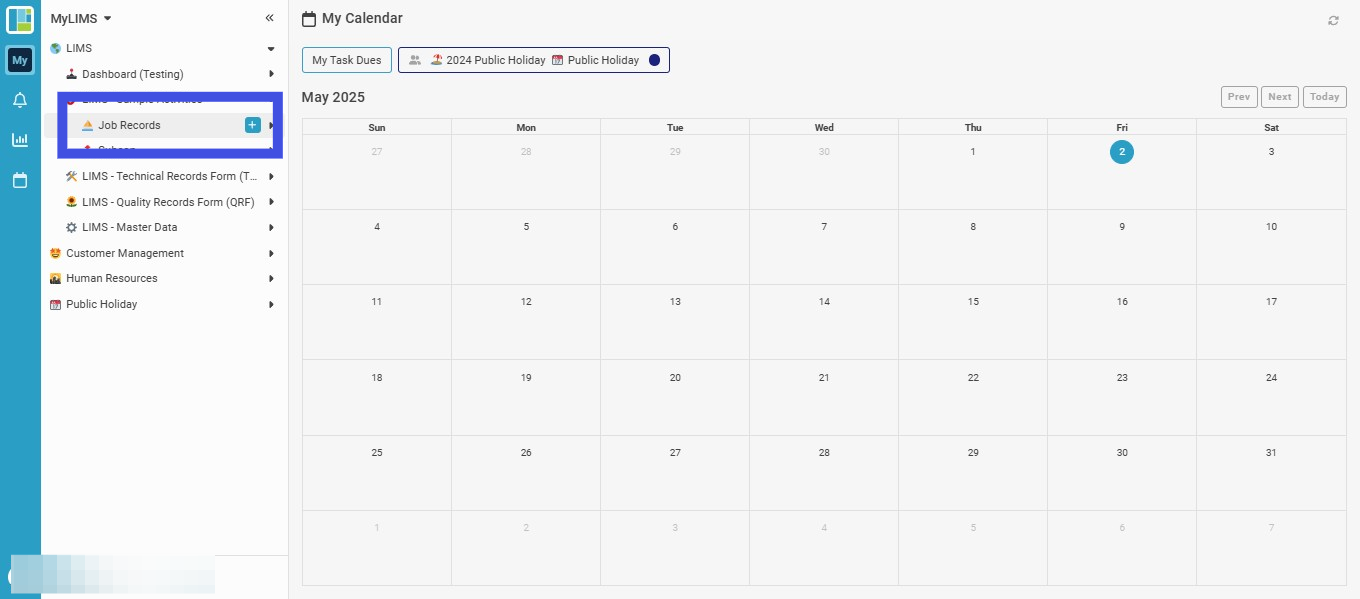
Step 3: Click 'Job Records'
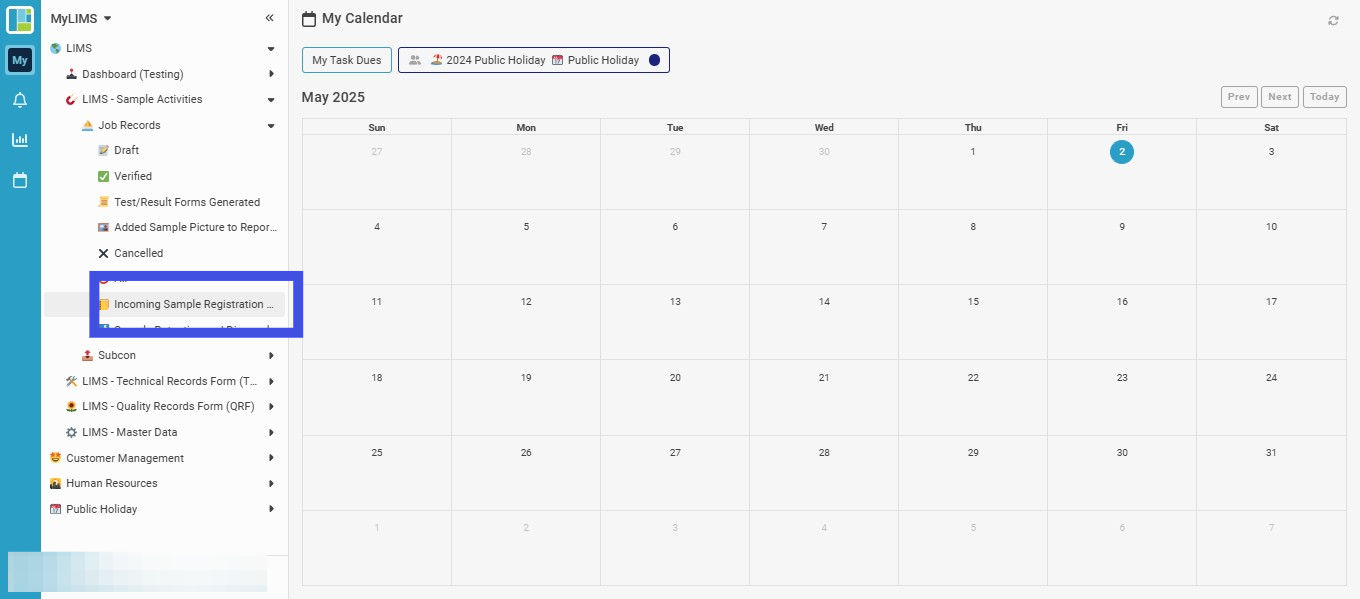
Step 4: Navigate to 'Incoming Sample Registration and Receipt Record'
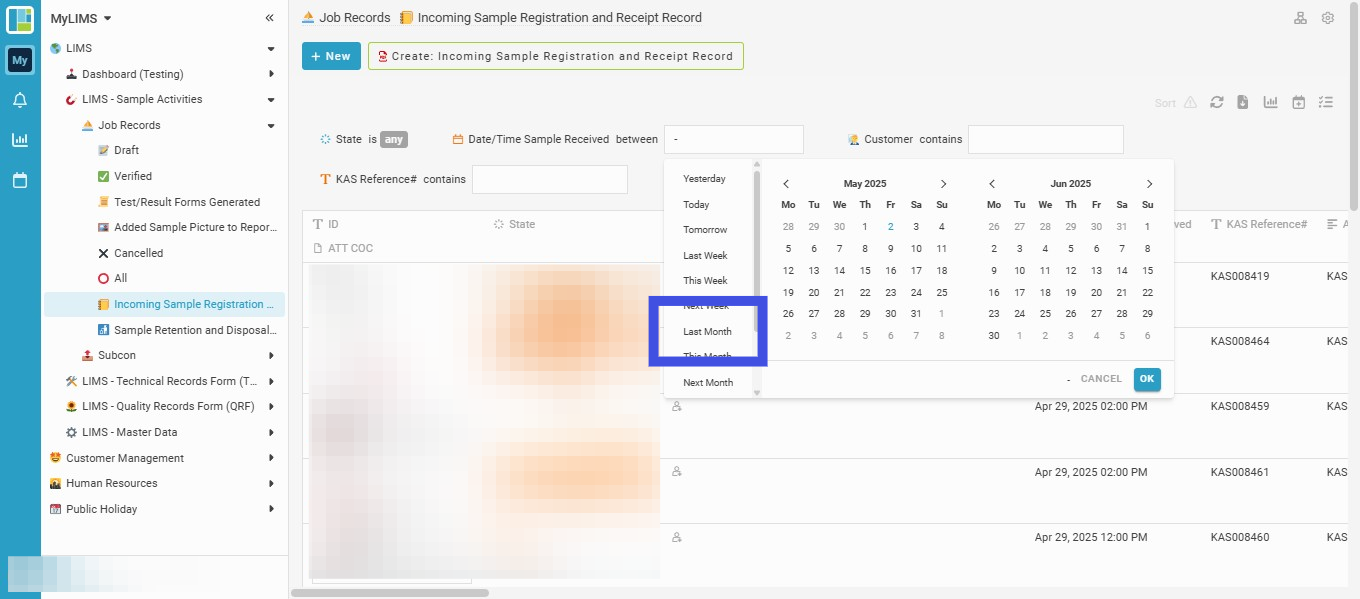
Step 5: Range the Date/Time Sample Received
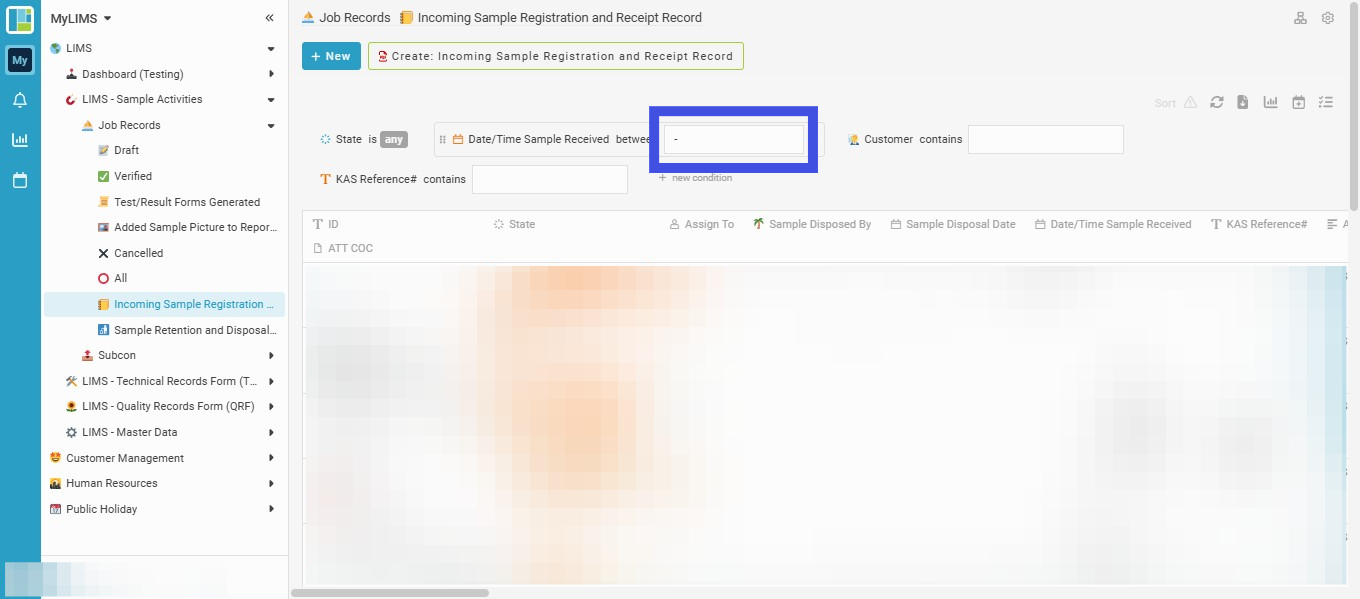
Step 6: Choose from Last Month in the list
E.g., you may select 'Last month' from the dropdown list to pull data from the previous month.
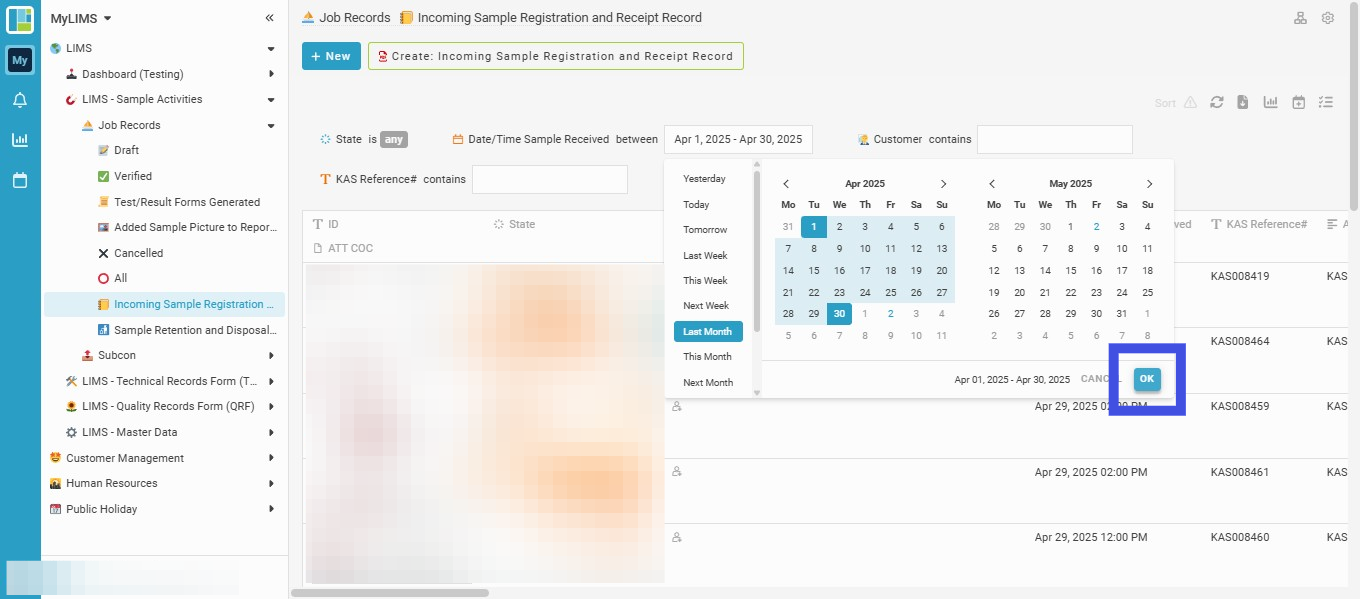
Step 7: Click the 'OK' button
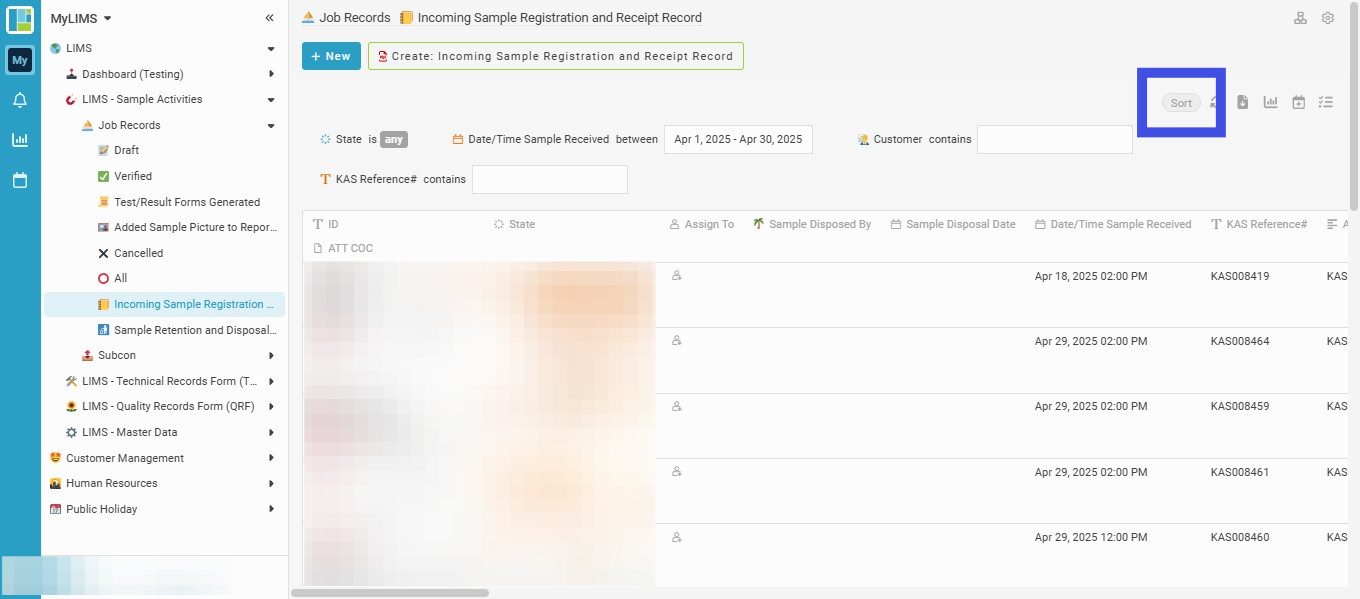
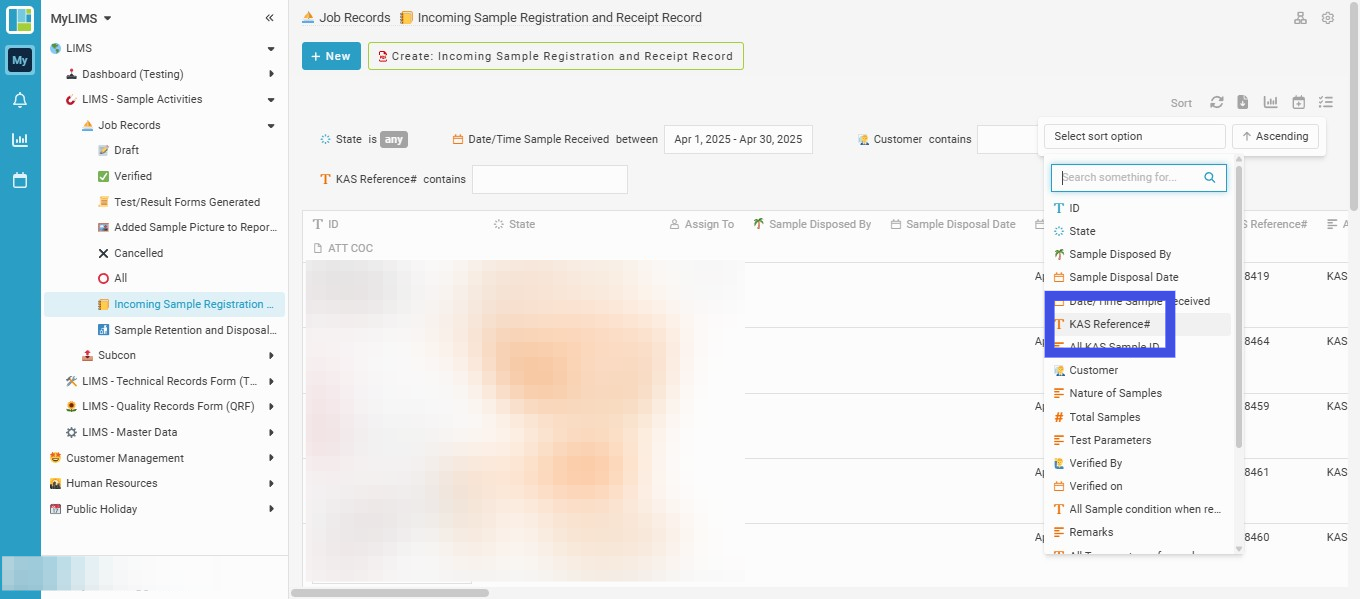
Step 8: Click the 'Sort' button
Step 9: Click and chose the options in the dropdown of 'Select sort option'
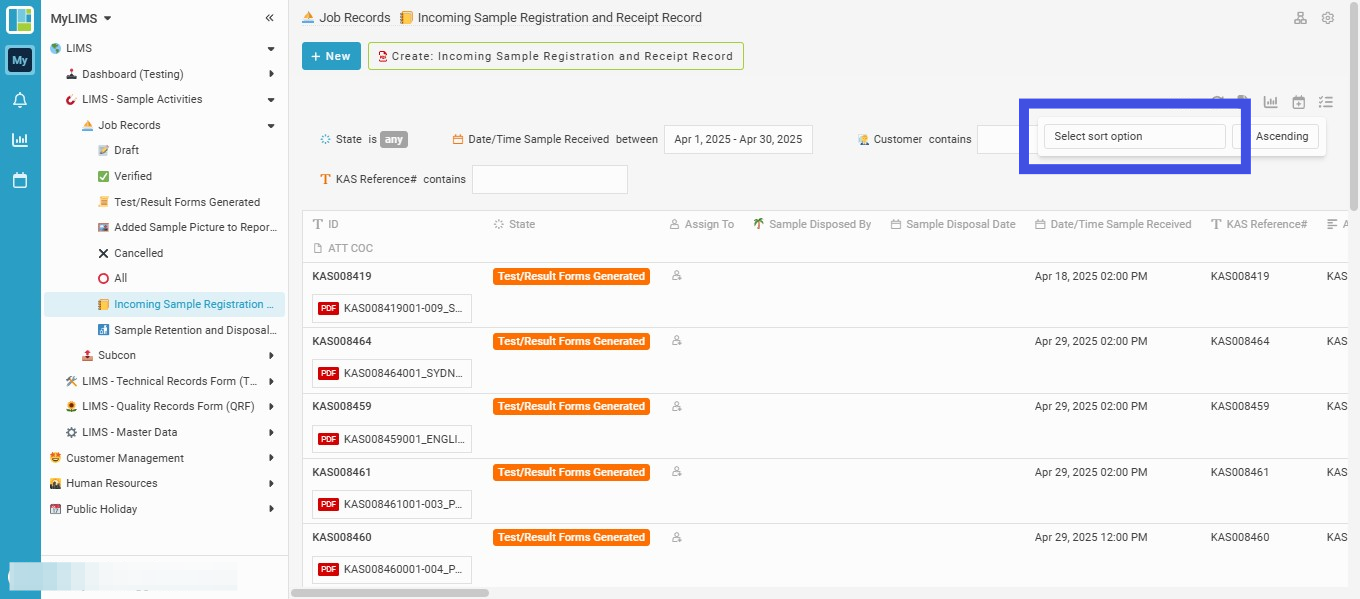
Step 10: Choose the 'KAS Reference#'
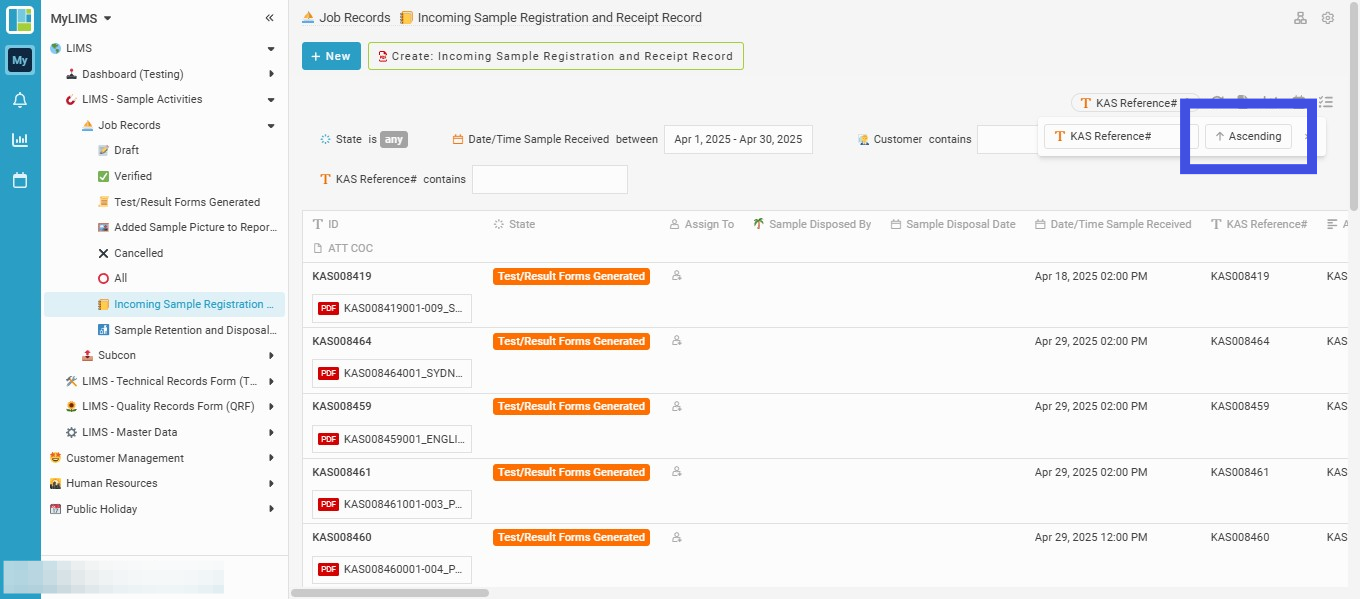
Step 11: To sort the entries in descending order by clicking the 'Ascending' button
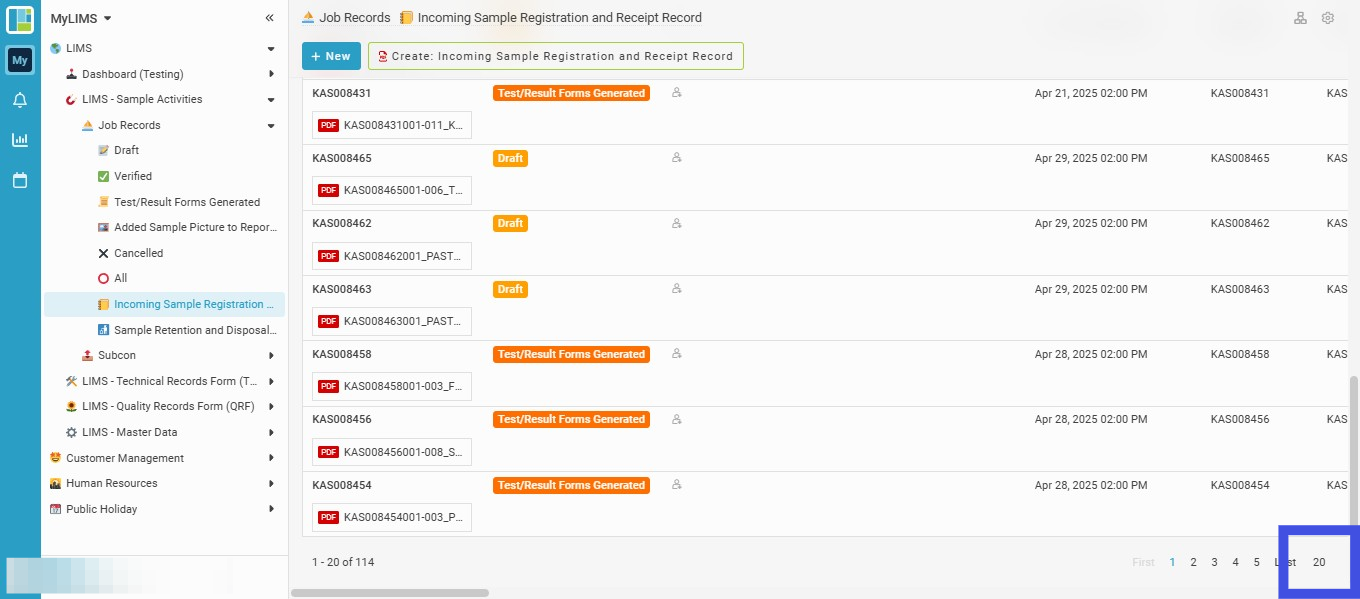
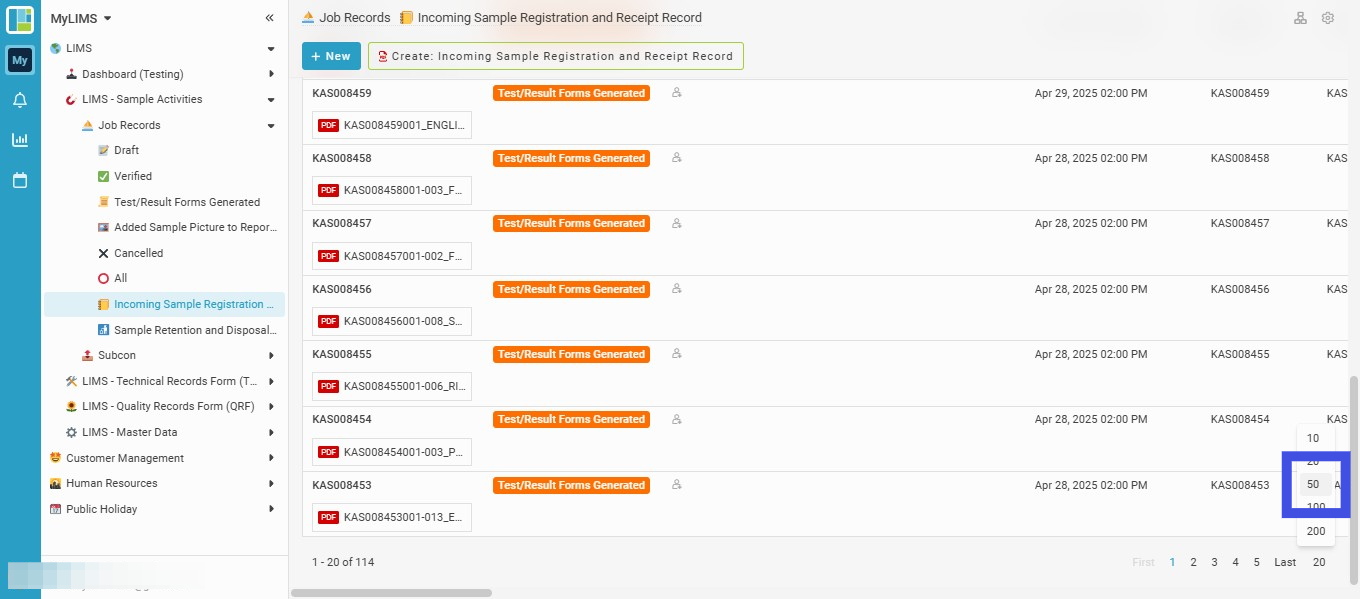
Step 12: Click the show entries number on the bottom right to choose the number of entries displayed per page
Step 13: In this case, we choose '50' per page
Step 14: Click the blue-selected hamburger symbol to trigger the multiple-selection entries feature
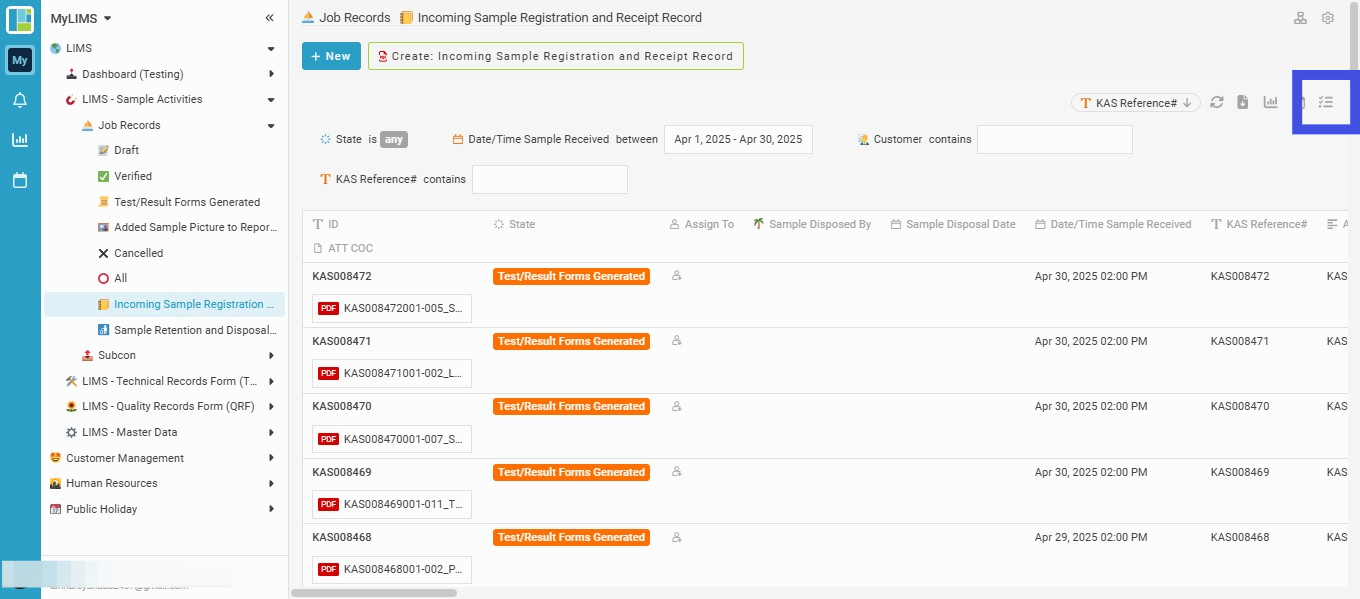
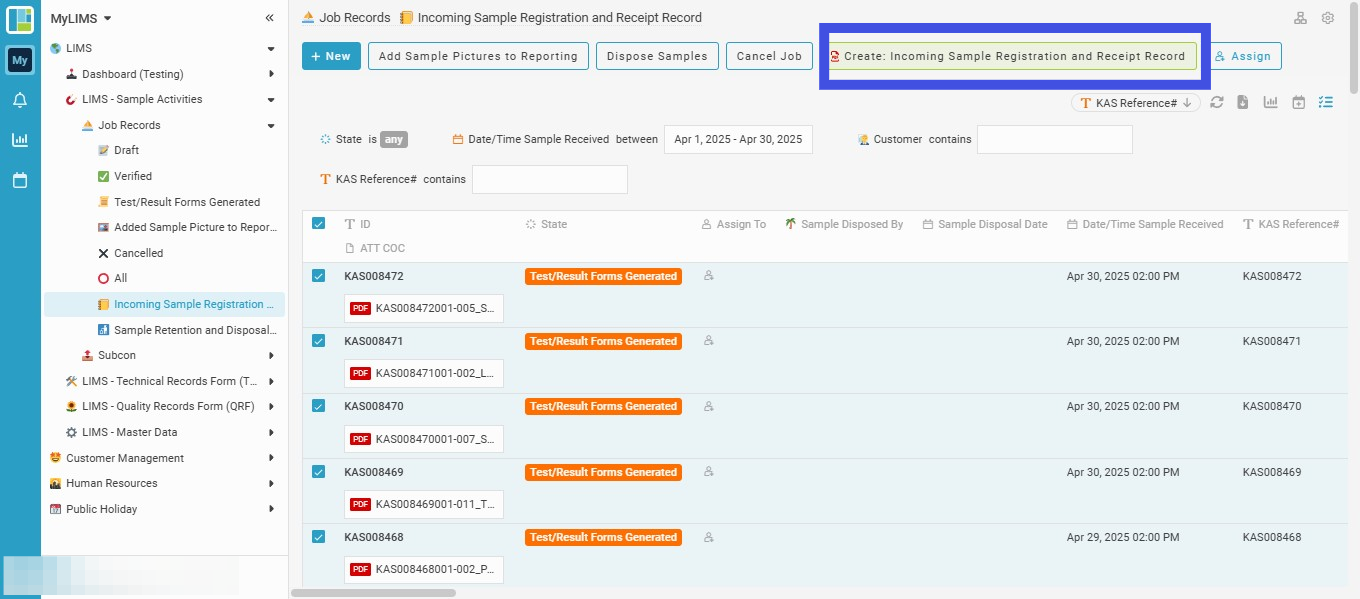
Step 15: Tick the square tick-box to initiate the multiple selection of all entries

Step 16: Click 'Create: Incoming Sample Registration and Receipt Record'
Step 17: Choose to print or download the document
On the top right, the print icon can be clicked to print the document, or the download icon can be clicked to download and save it.
