Print Sample Disposal and Retention Records
Interactive Tour:
Print Sample Disposal and Retention Records
Guide: Print Sample Disposal and Retention Records (10 Steps)
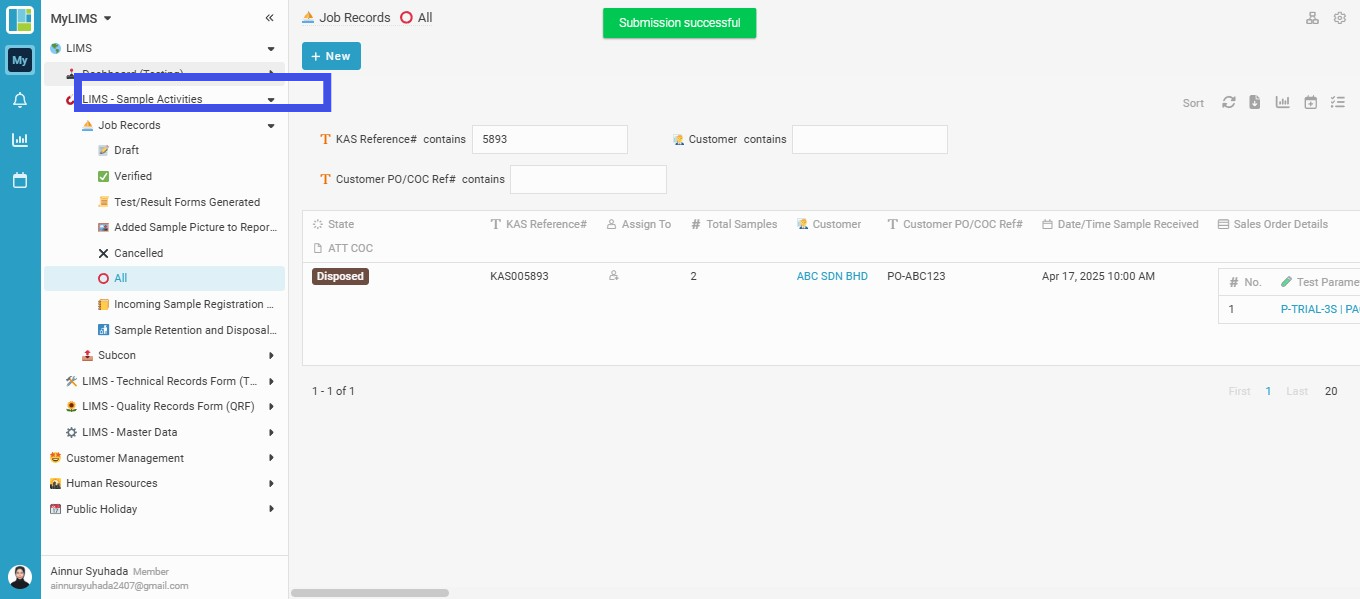
Step 1: Click 'LIMS'

Step 2: Navigate to 'Dashboard (Testing)'
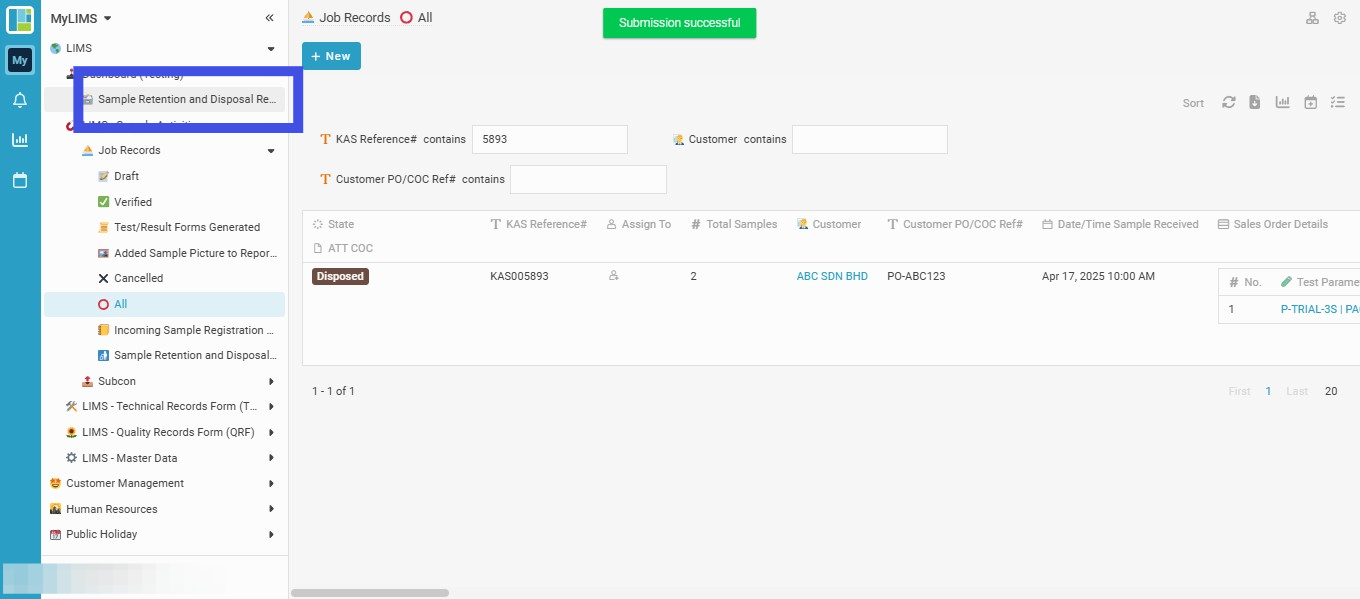
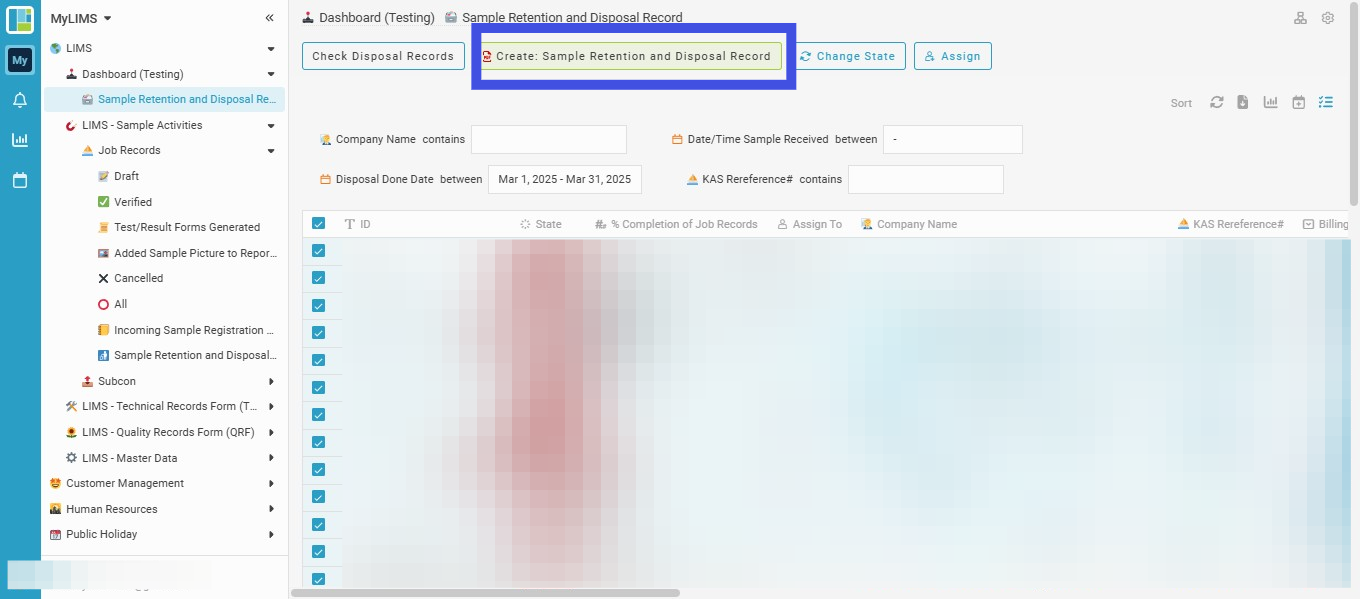
Step 3: Click the 'Sample Retention and Disposal Record'
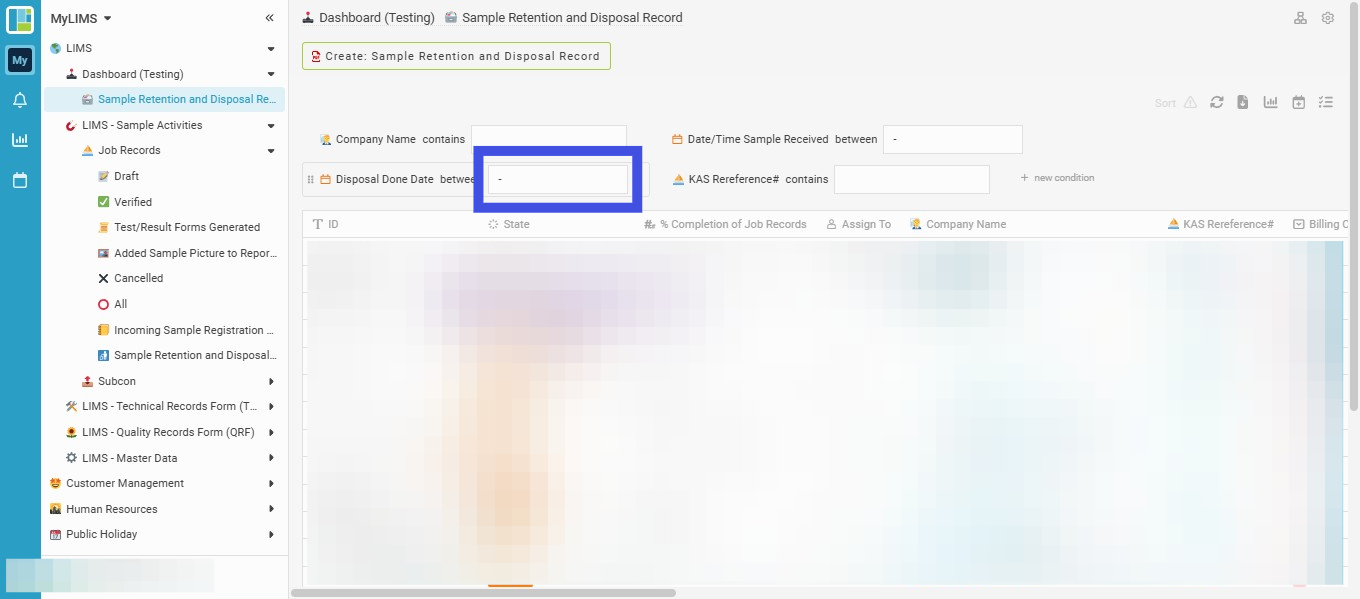
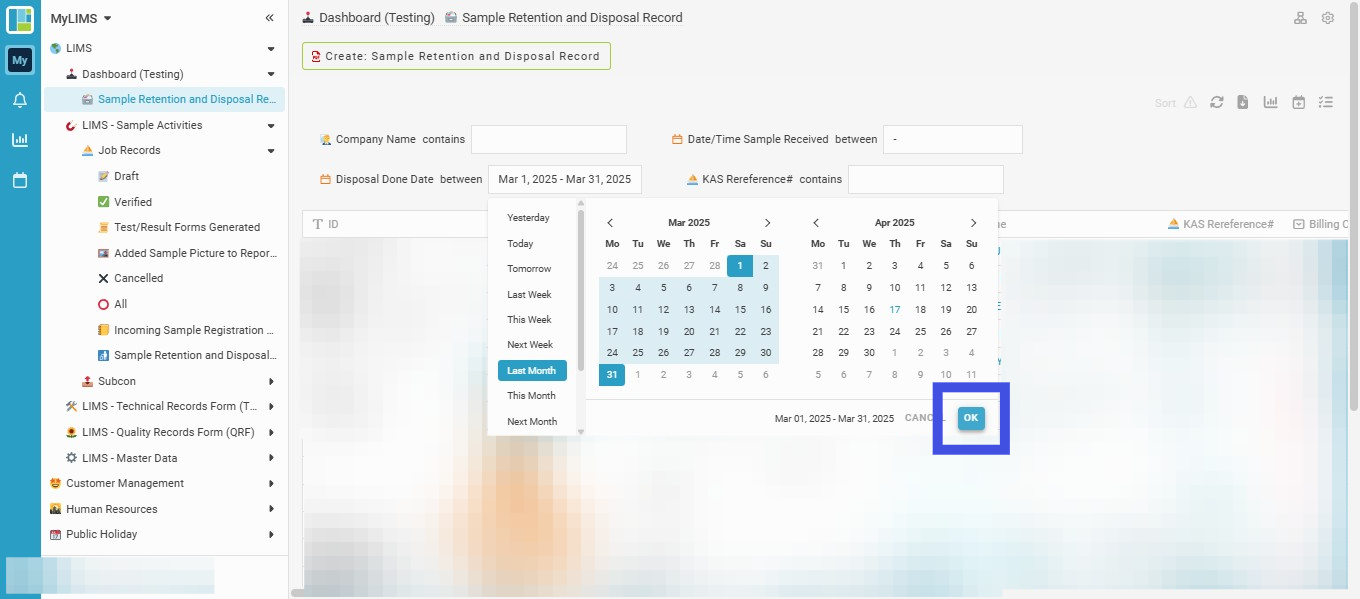
Step 4: Click the 'Disposal Done Date between'
Select the date when the sample was disposed of.
Step 5: Choose 'Last Month' from the list, and then click the 'OK' button
Suggest selecting 'Last month' or 'any date range' from the list.
You may generate the 'Sample Disposal and Retention Record' Report when reporting and billing for samples from the previous month are done. The report printing is based on the lab practice.
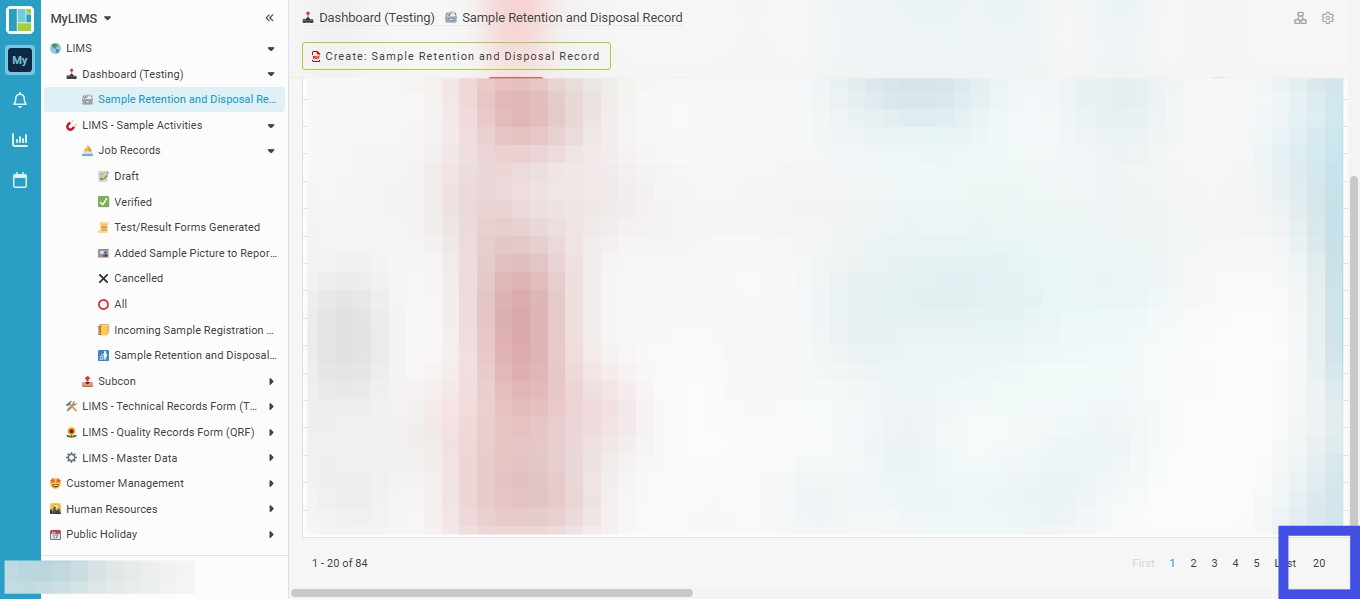
Step 6: Click the list number at the bottom right corner, and then choose '50' per page
Note: 50 lists per page should be selected for printing, as the PDF file can only be generated with a maximum of 50 lists per selection.
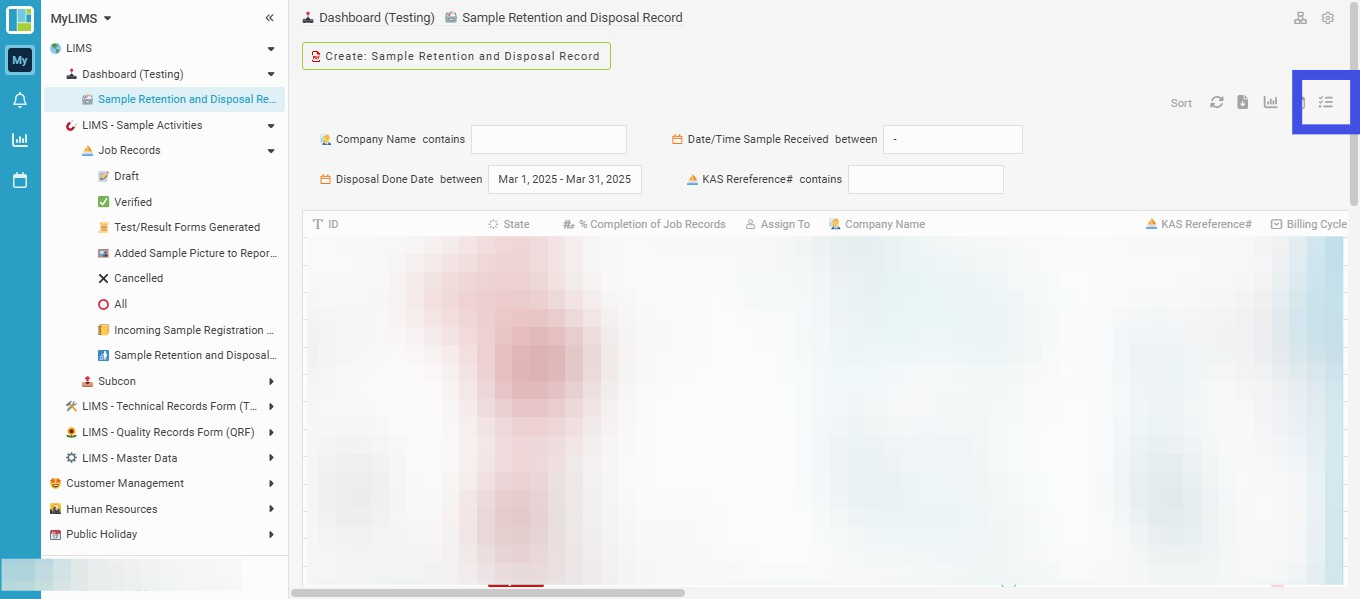
Step 7: Click this symbol to select 'All'
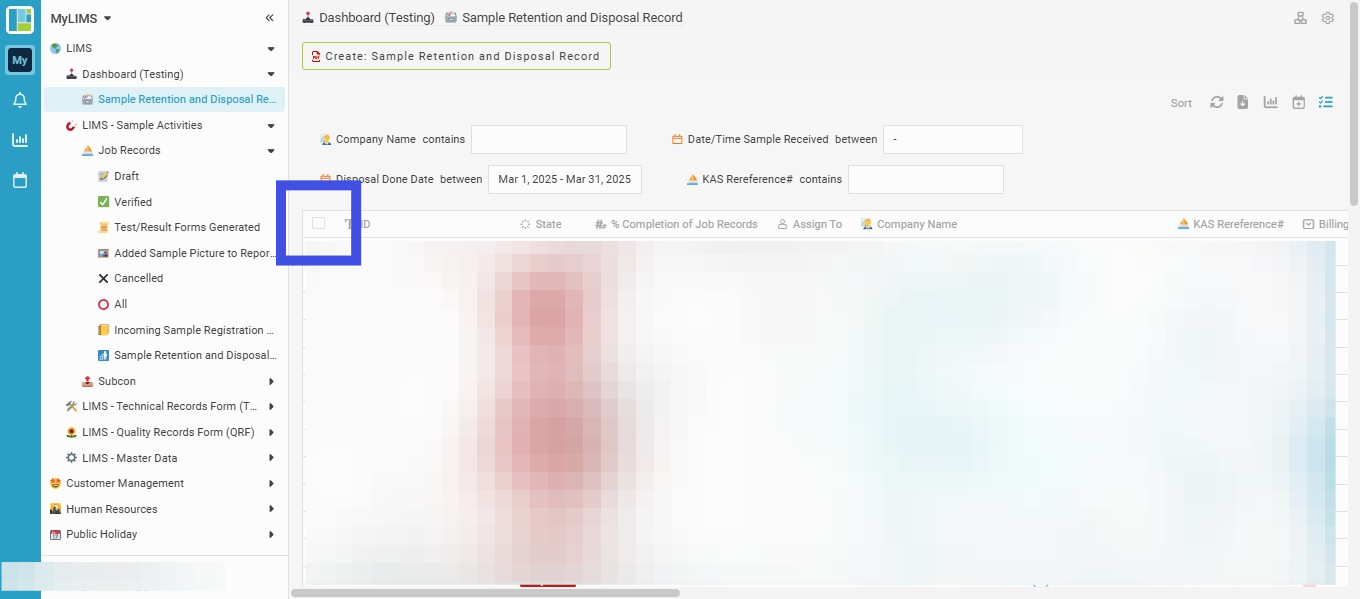
Step 8: Tick the check box to multi-select all the rows
Step 9: Click the 'Create: Sample Retention and Disposal Record' button
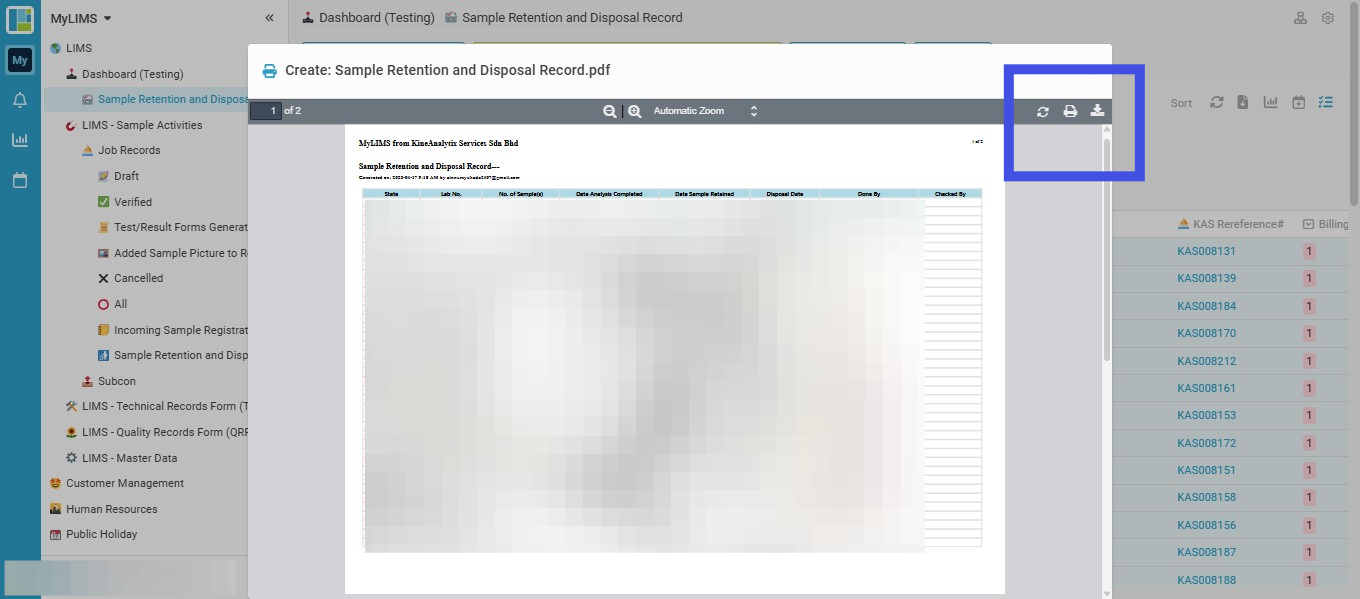
Step 10: Choose the print or download icons
On the top right, click the print icon to print the document, or click the download icon to download it.